
Humble Beginnings
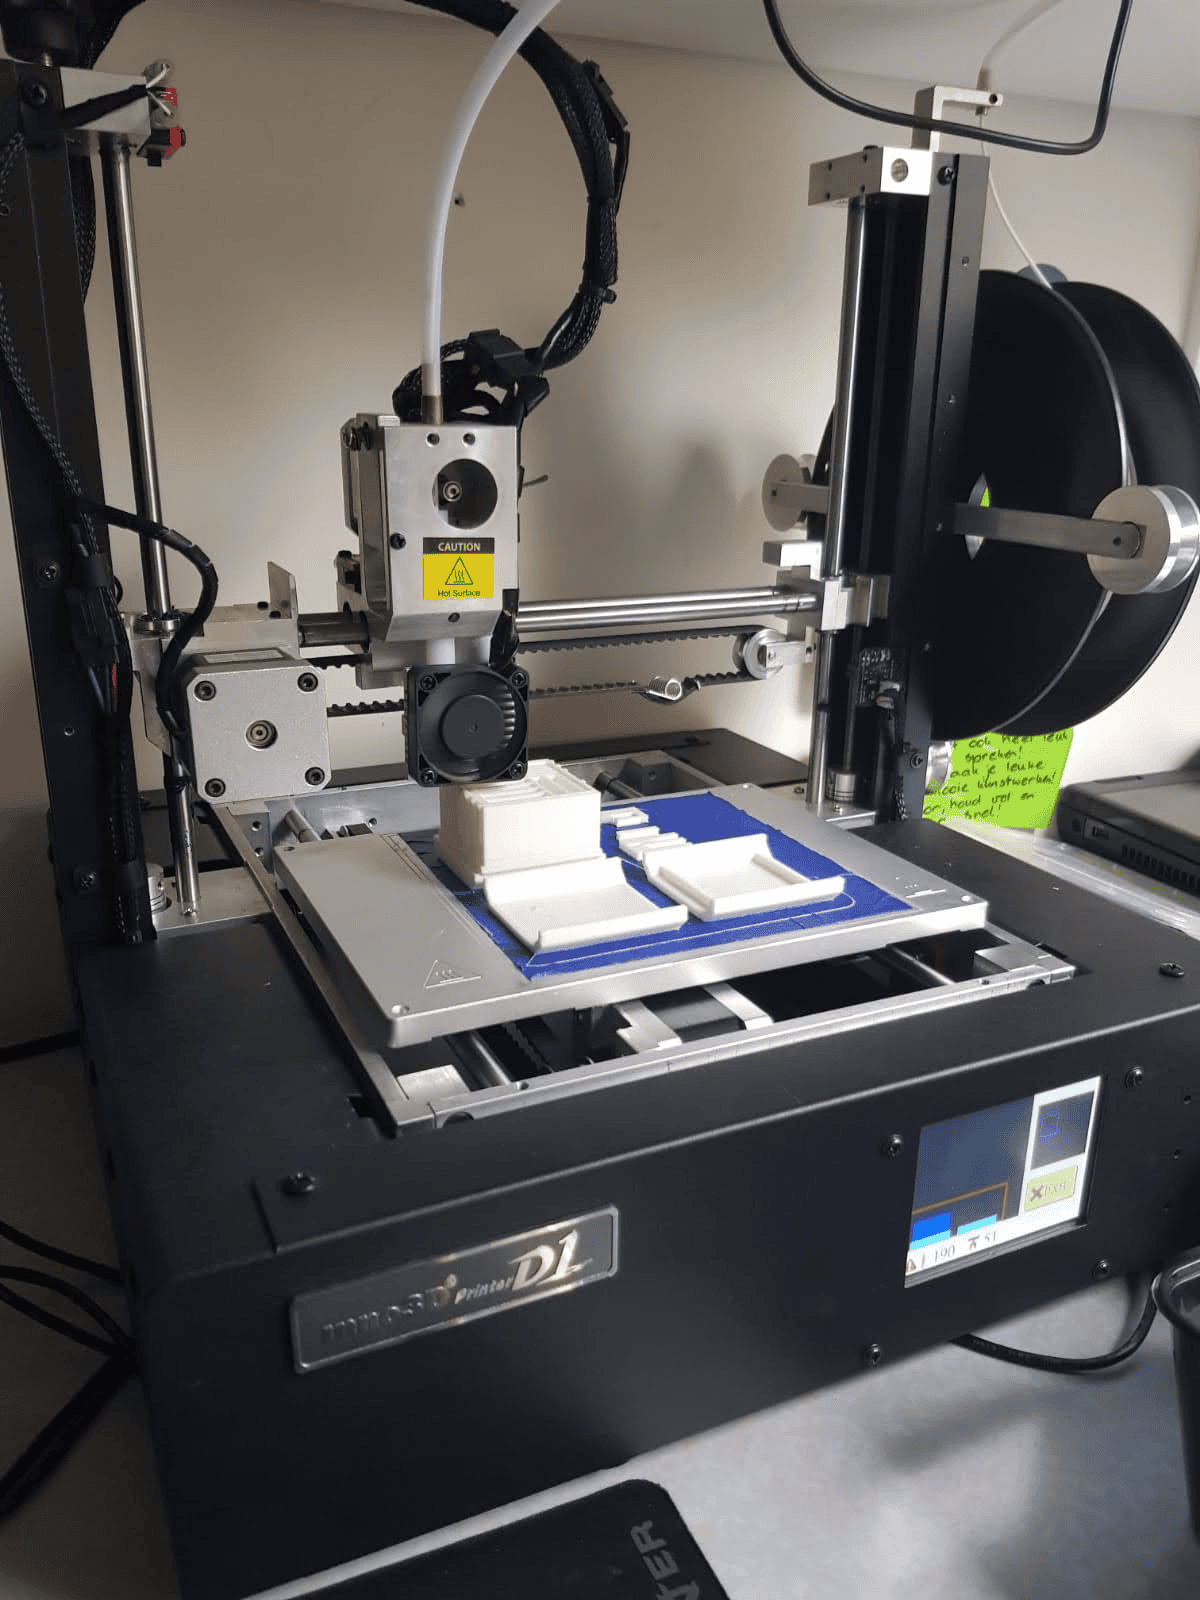
I started with a mystery clearance printer whose specs were laughable, the rails rattled, and the hotend jammed more often than it extruded. I spent hours scraping failed prints from the bed and tweaking questionable firmware—every successful print felt like a major victory.
Upgrading to Ender 3 V2
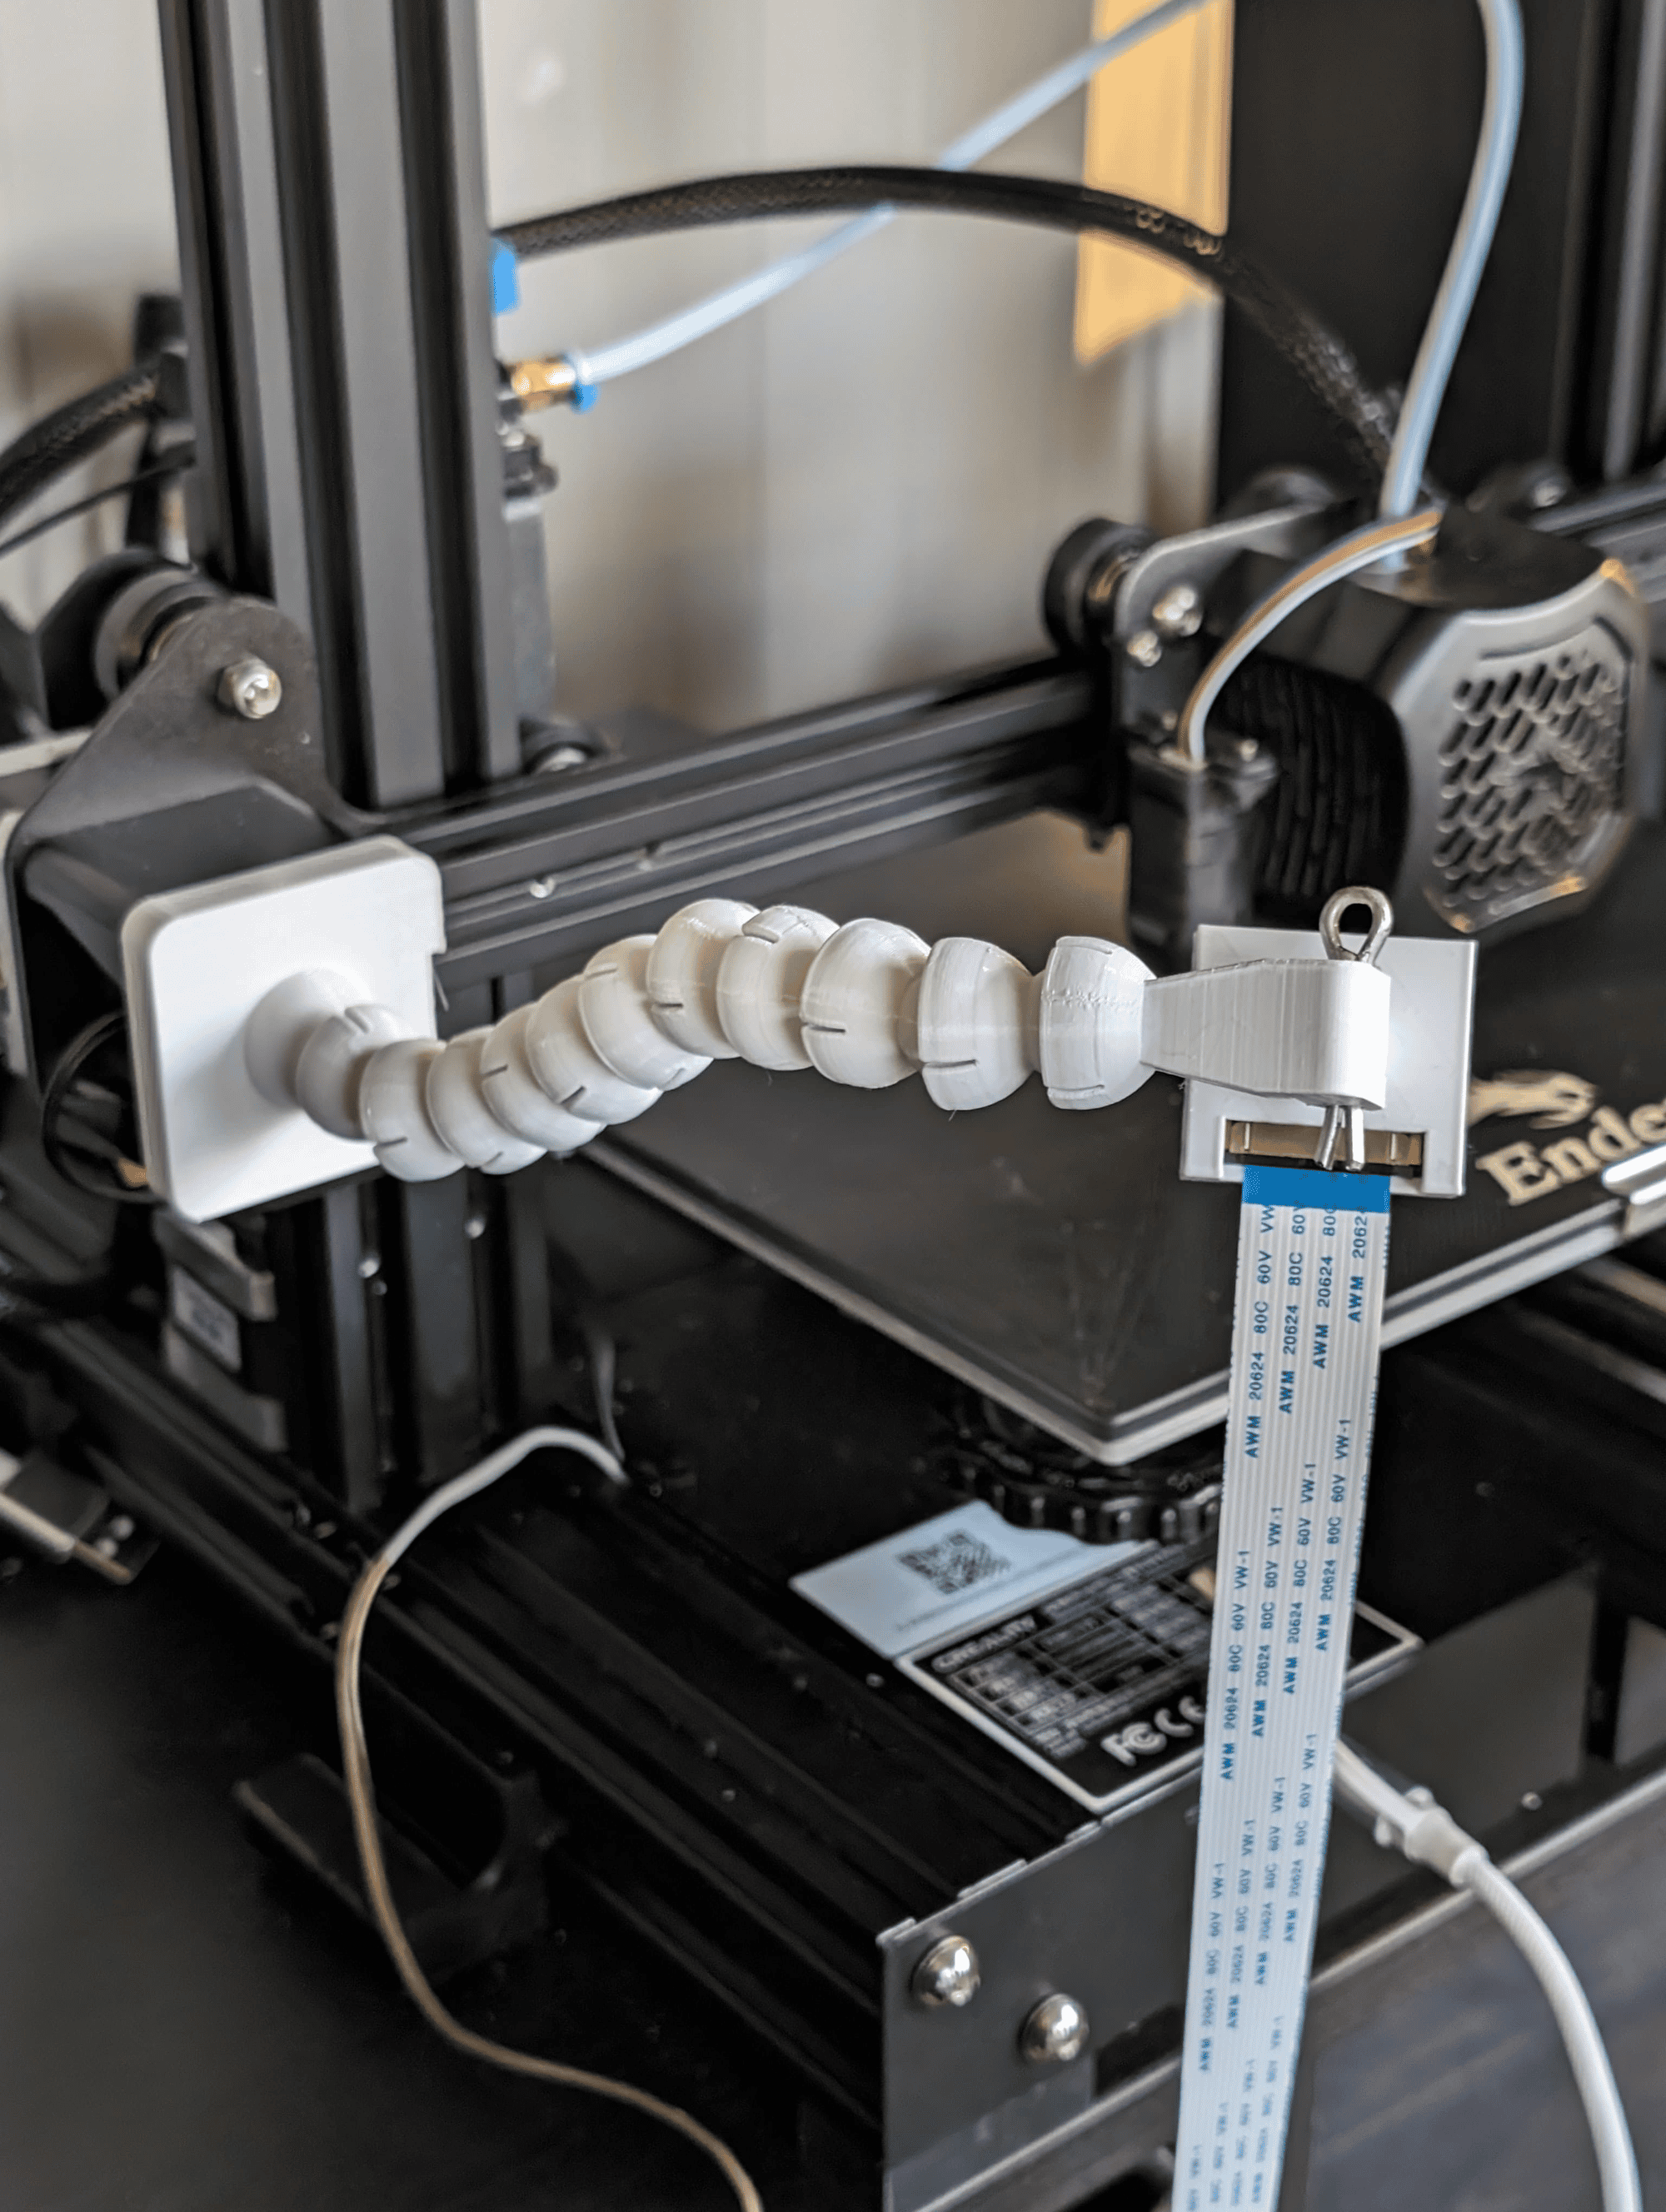
Tired of filament waste, I invested in a Creality Ender 3 V2. Its rigid frame, smooth motion, and surprisingly reliable default prints made it clear this was a significant upgrade.
- Installed OctoPrint for remote slicing and live webcam monitoring.
- Added a BLTouch sensor to automate bed leveling and eliminate manual adjustments.
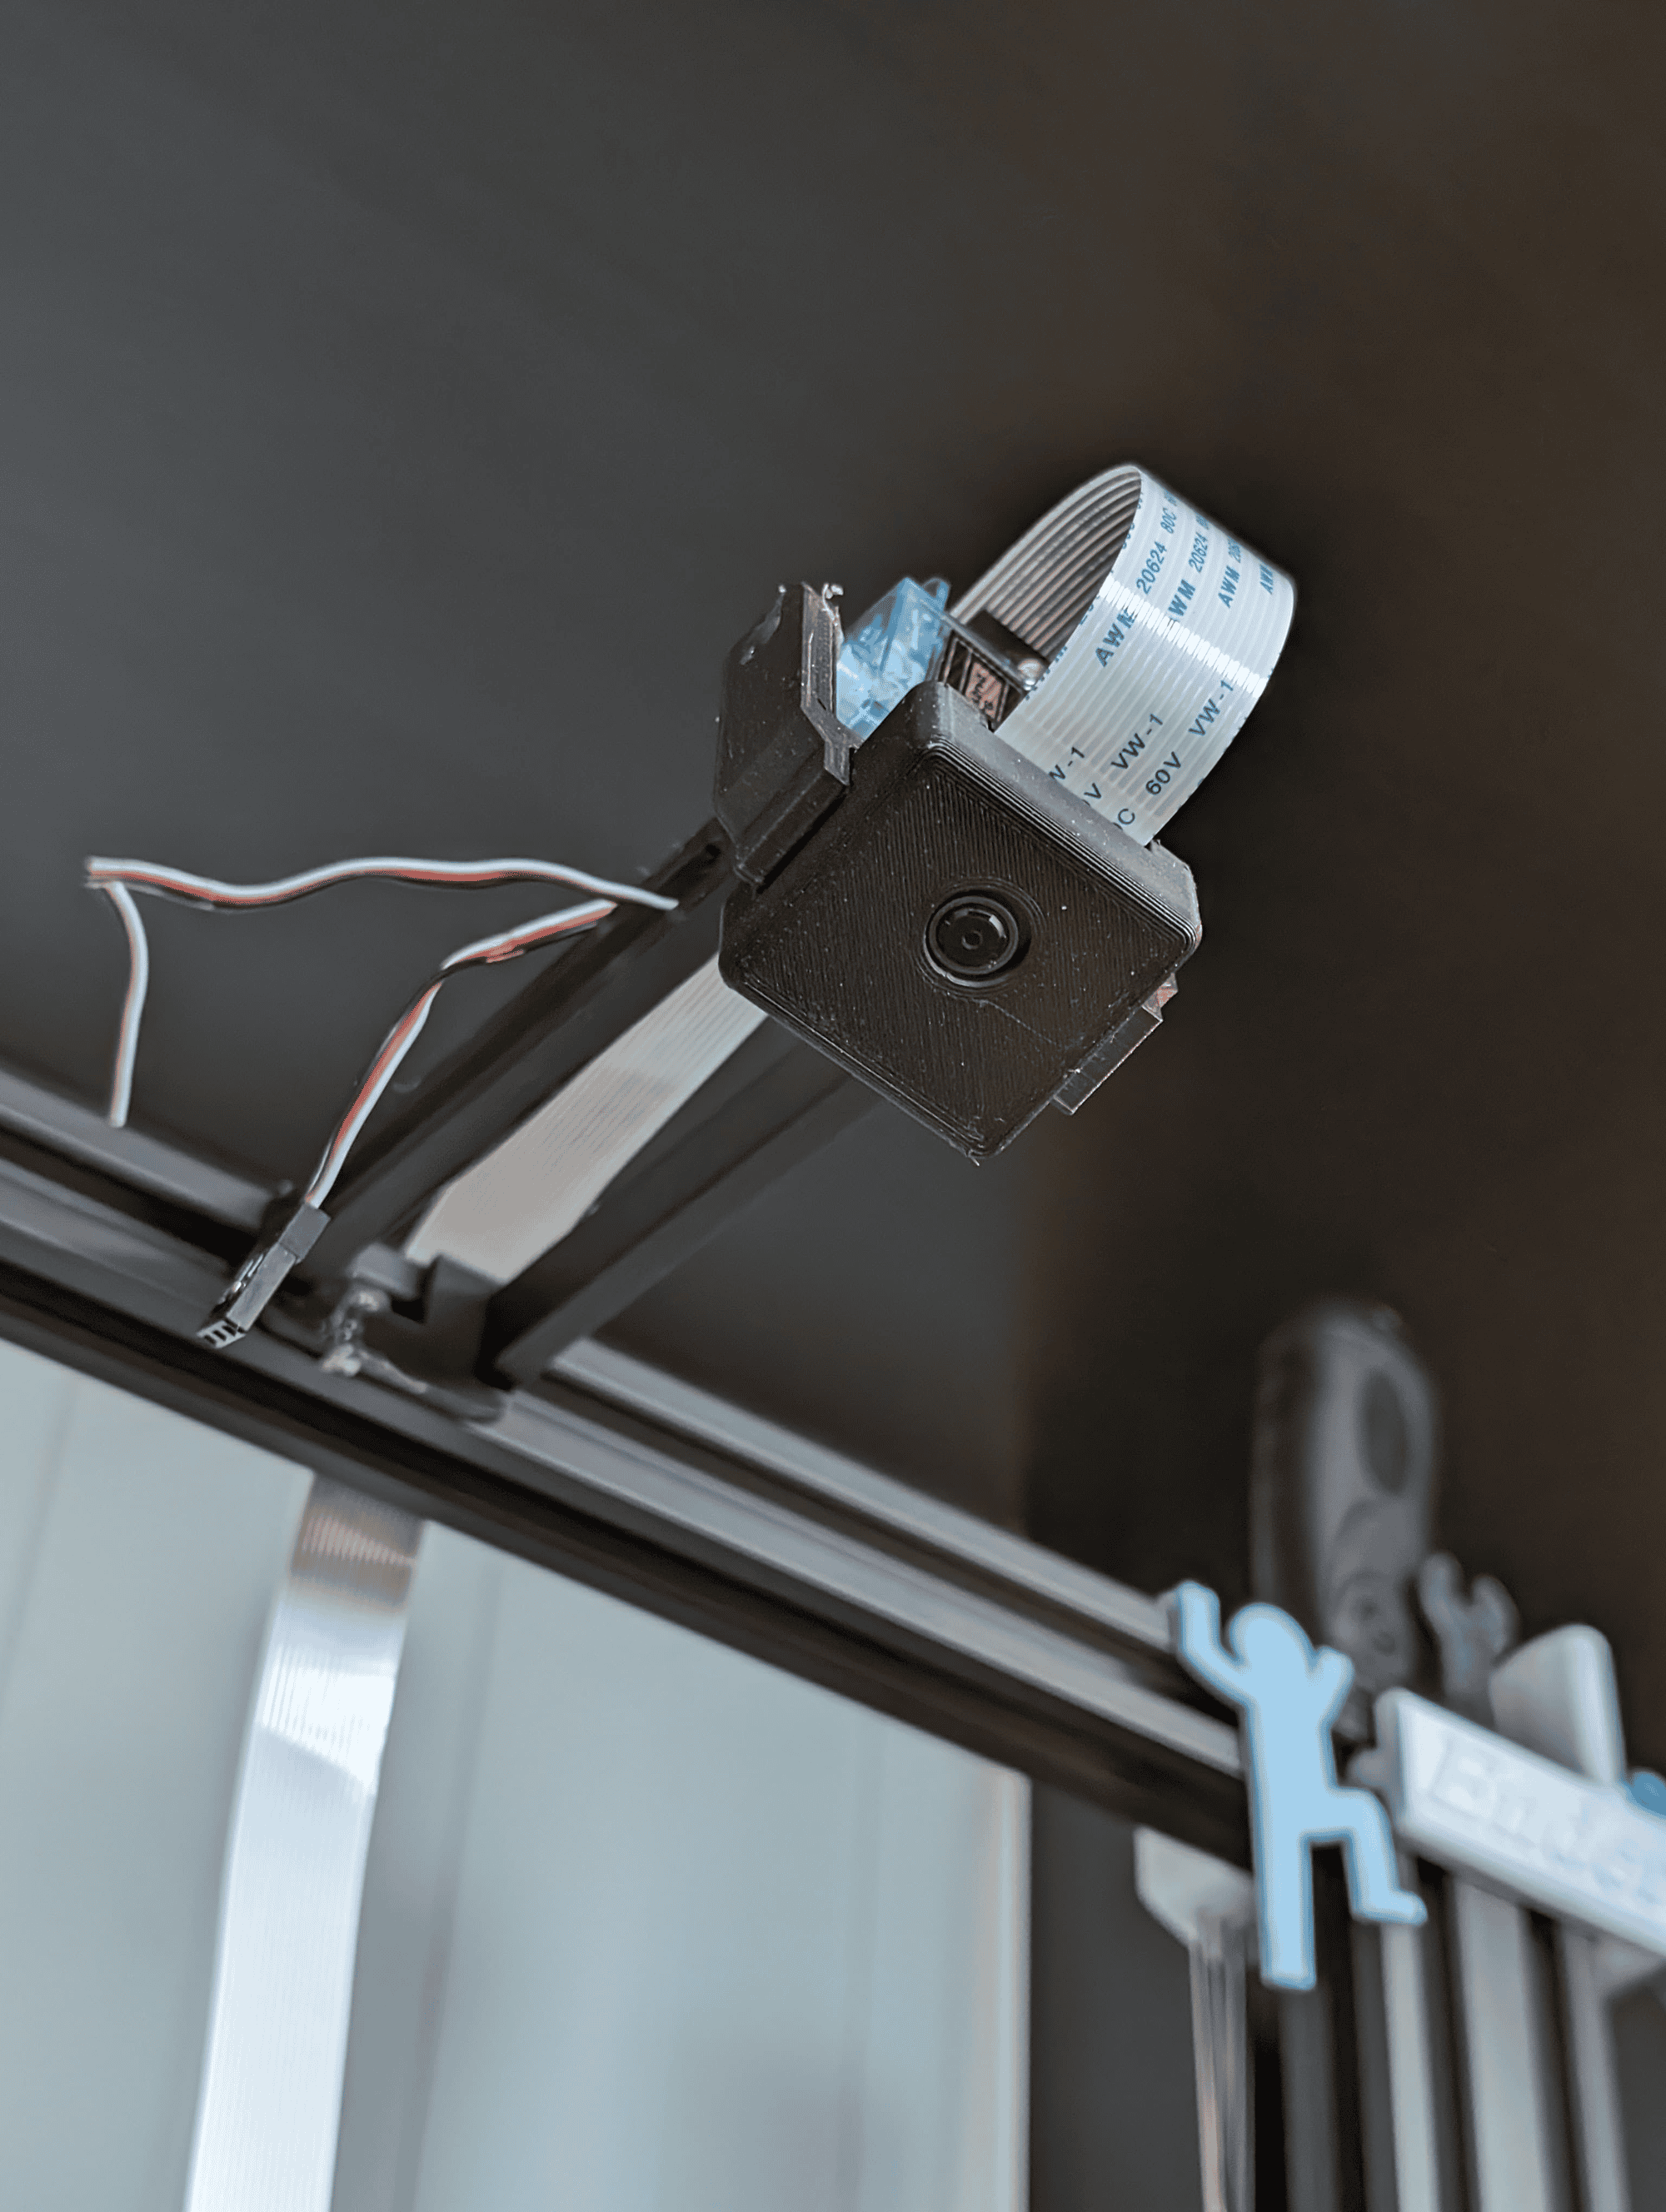
- Mounted a Pi Camera to catch print failures in real time.
- Replaced the stock nozzle with a high-precision 0.4 mm brass nozzle for finer detail.
- Upgraded springs, dampers, and feet to reduce vibration and noise.
These modifications transformed the printer into a dependable workhorse, delivering first-layer adhesion and consistent results.
Print Projects
With my Ender 3 V2 tuned to perfection, I tackled ambitious builds:
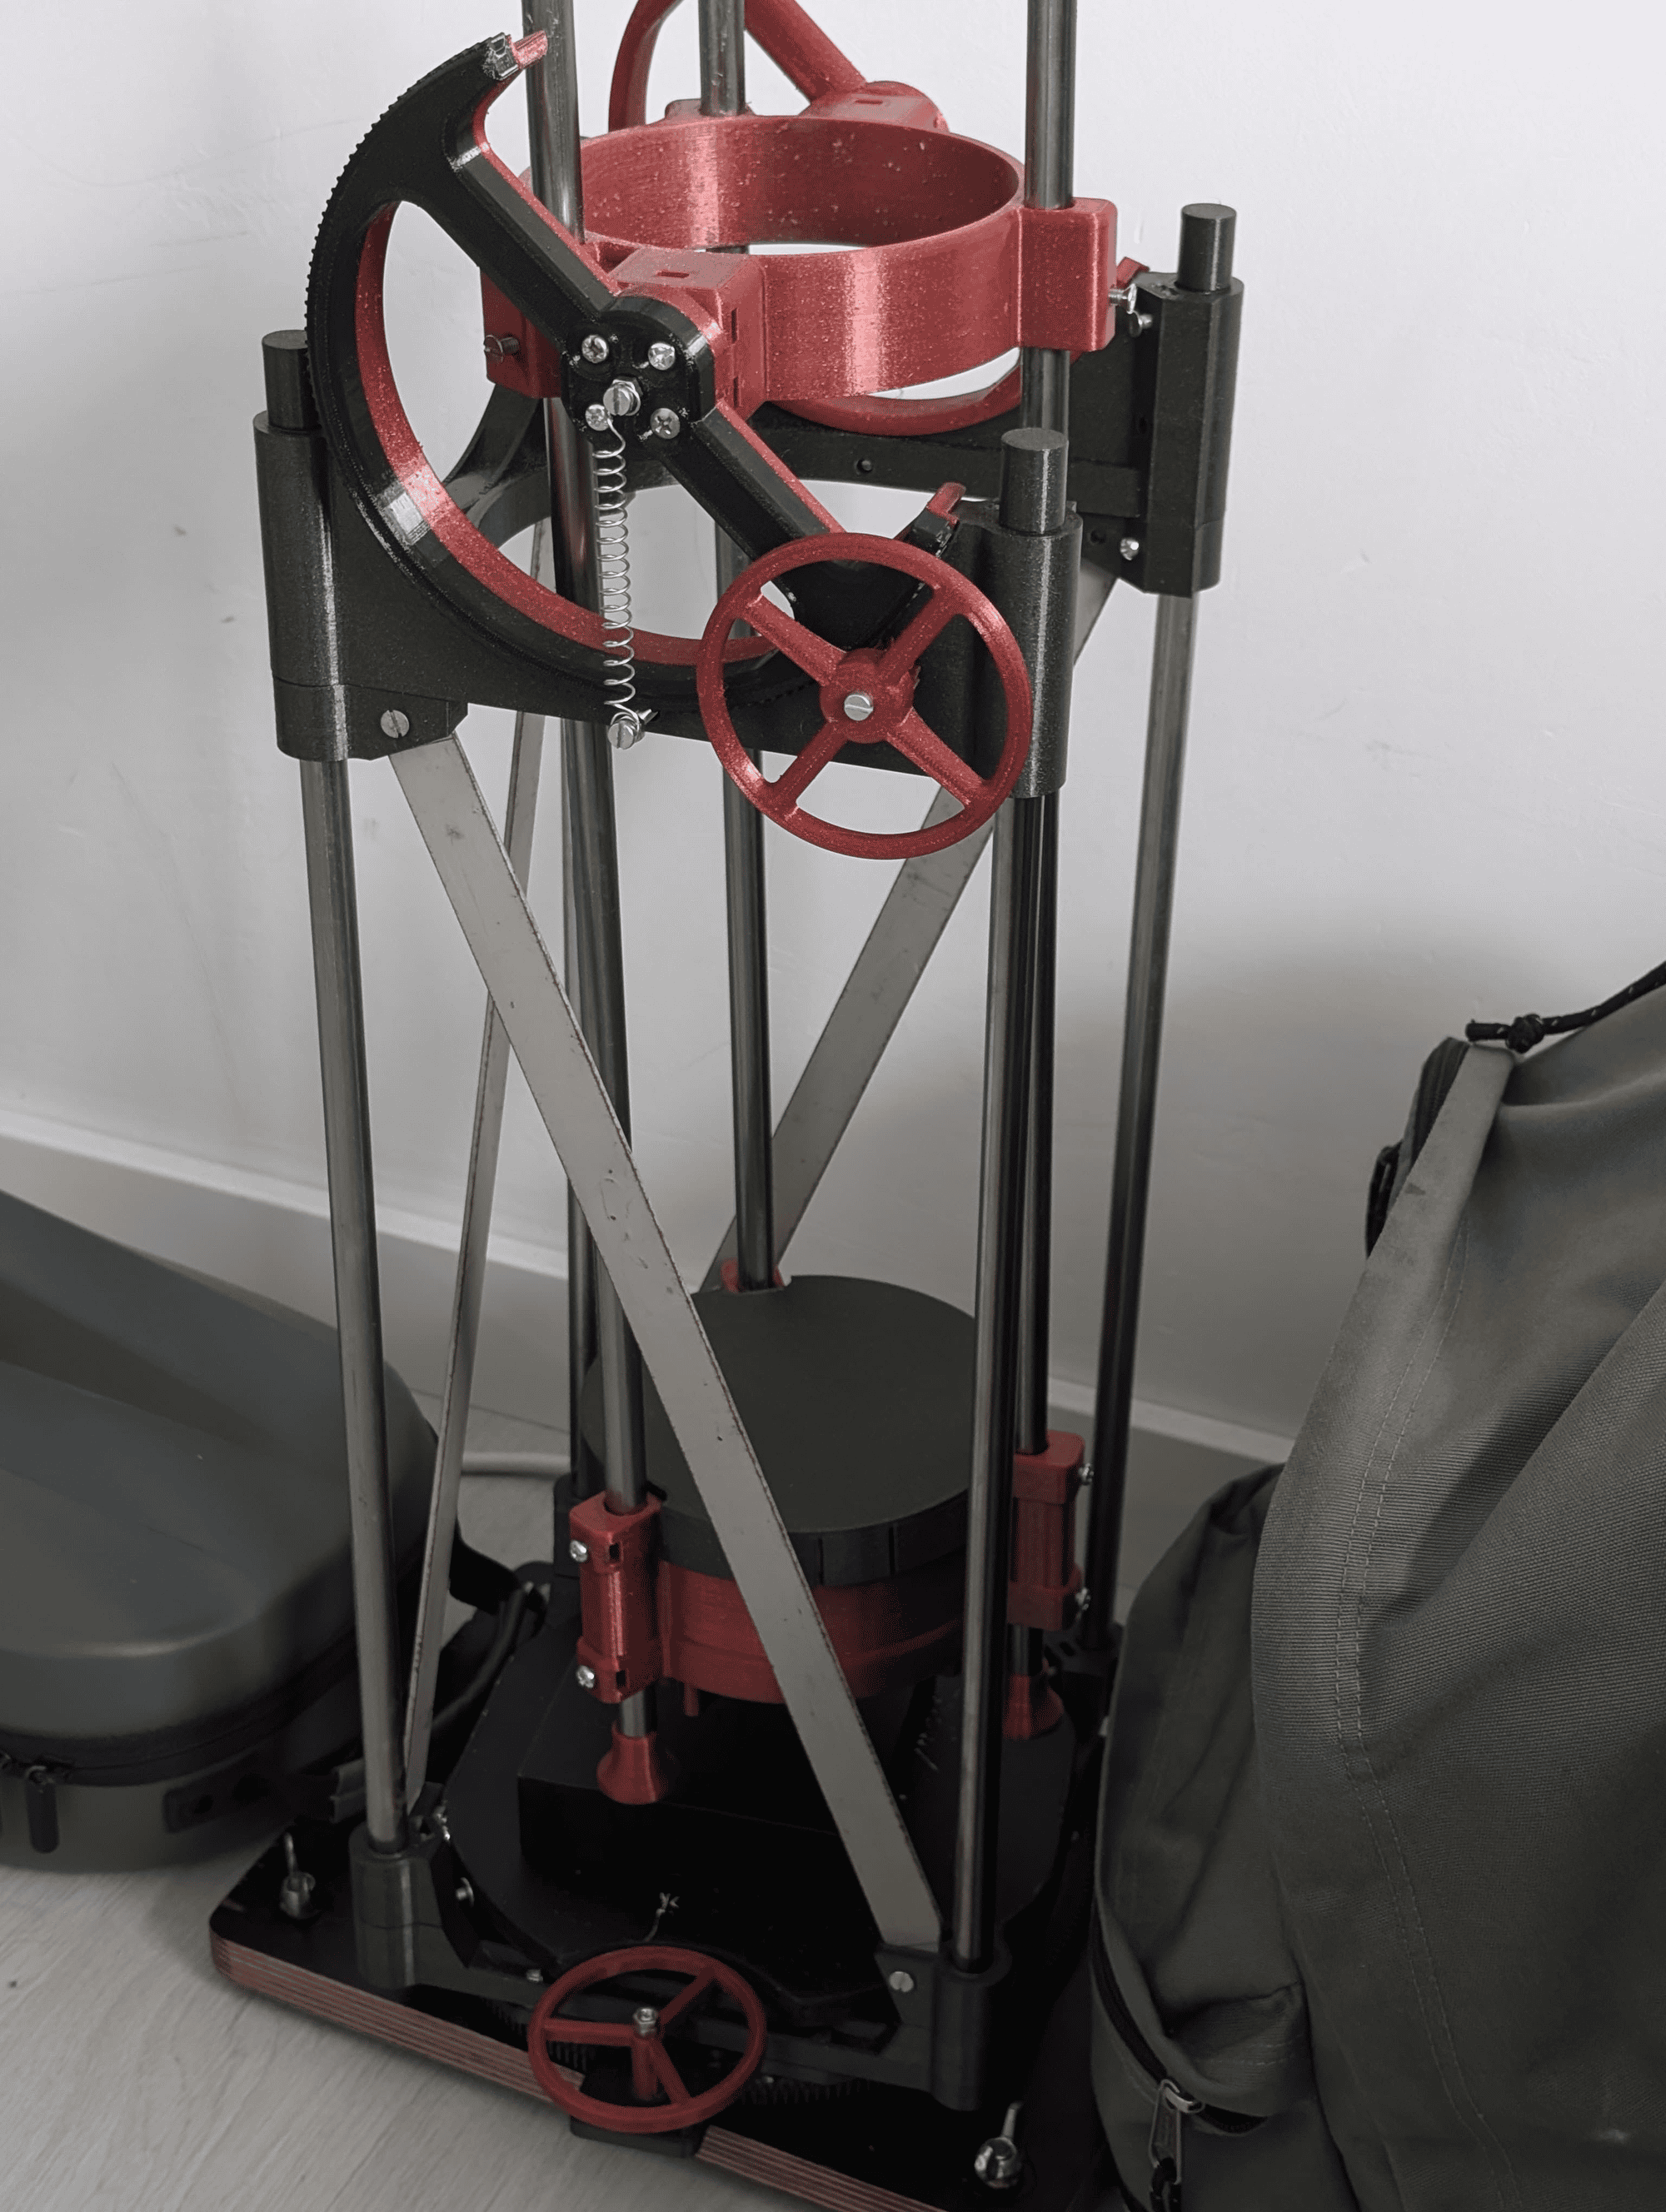
- Hadley Telescope: I designed, printed, and assembled a fully functional refractor telescope, complete with focus adjustment and lens housing.
- Functional Jigs & Fixtures: Custom brackets and tool holders to optimize my workshop setup.
- Miniature Sculptures: Detailed busts and topographical models using custom slicer profiles.
- Enclosure Mods: A custom, clip-together enclosure with built-in dust filter and LED strip mounts.

Every print pushed my skills further and turned this Ender 3 V2 into a versatile fabrication station. I still have a long mod list and small projects I want to make.
