Build logs
16 entries
Turning a full-height trash bin into a synced disco show
A 150 cm tall bin that throws a six-second disco show every time someone tosses trash: dual ultrasonic sensors, Arduino + ESP32 handshake, relay-driven motor, Adafruit Audio Shield, and custom LED choreography.
Build logs
16 entries
Team
Nick + Nasi
Core tech
Arduino, ESP32, addressable LEDs
Exterior design + layout
Nasi kicked things off in Illustrator, dialing in panel sizes, slot placement, acrylic window framing, and LED post spacing before any wood was cut.
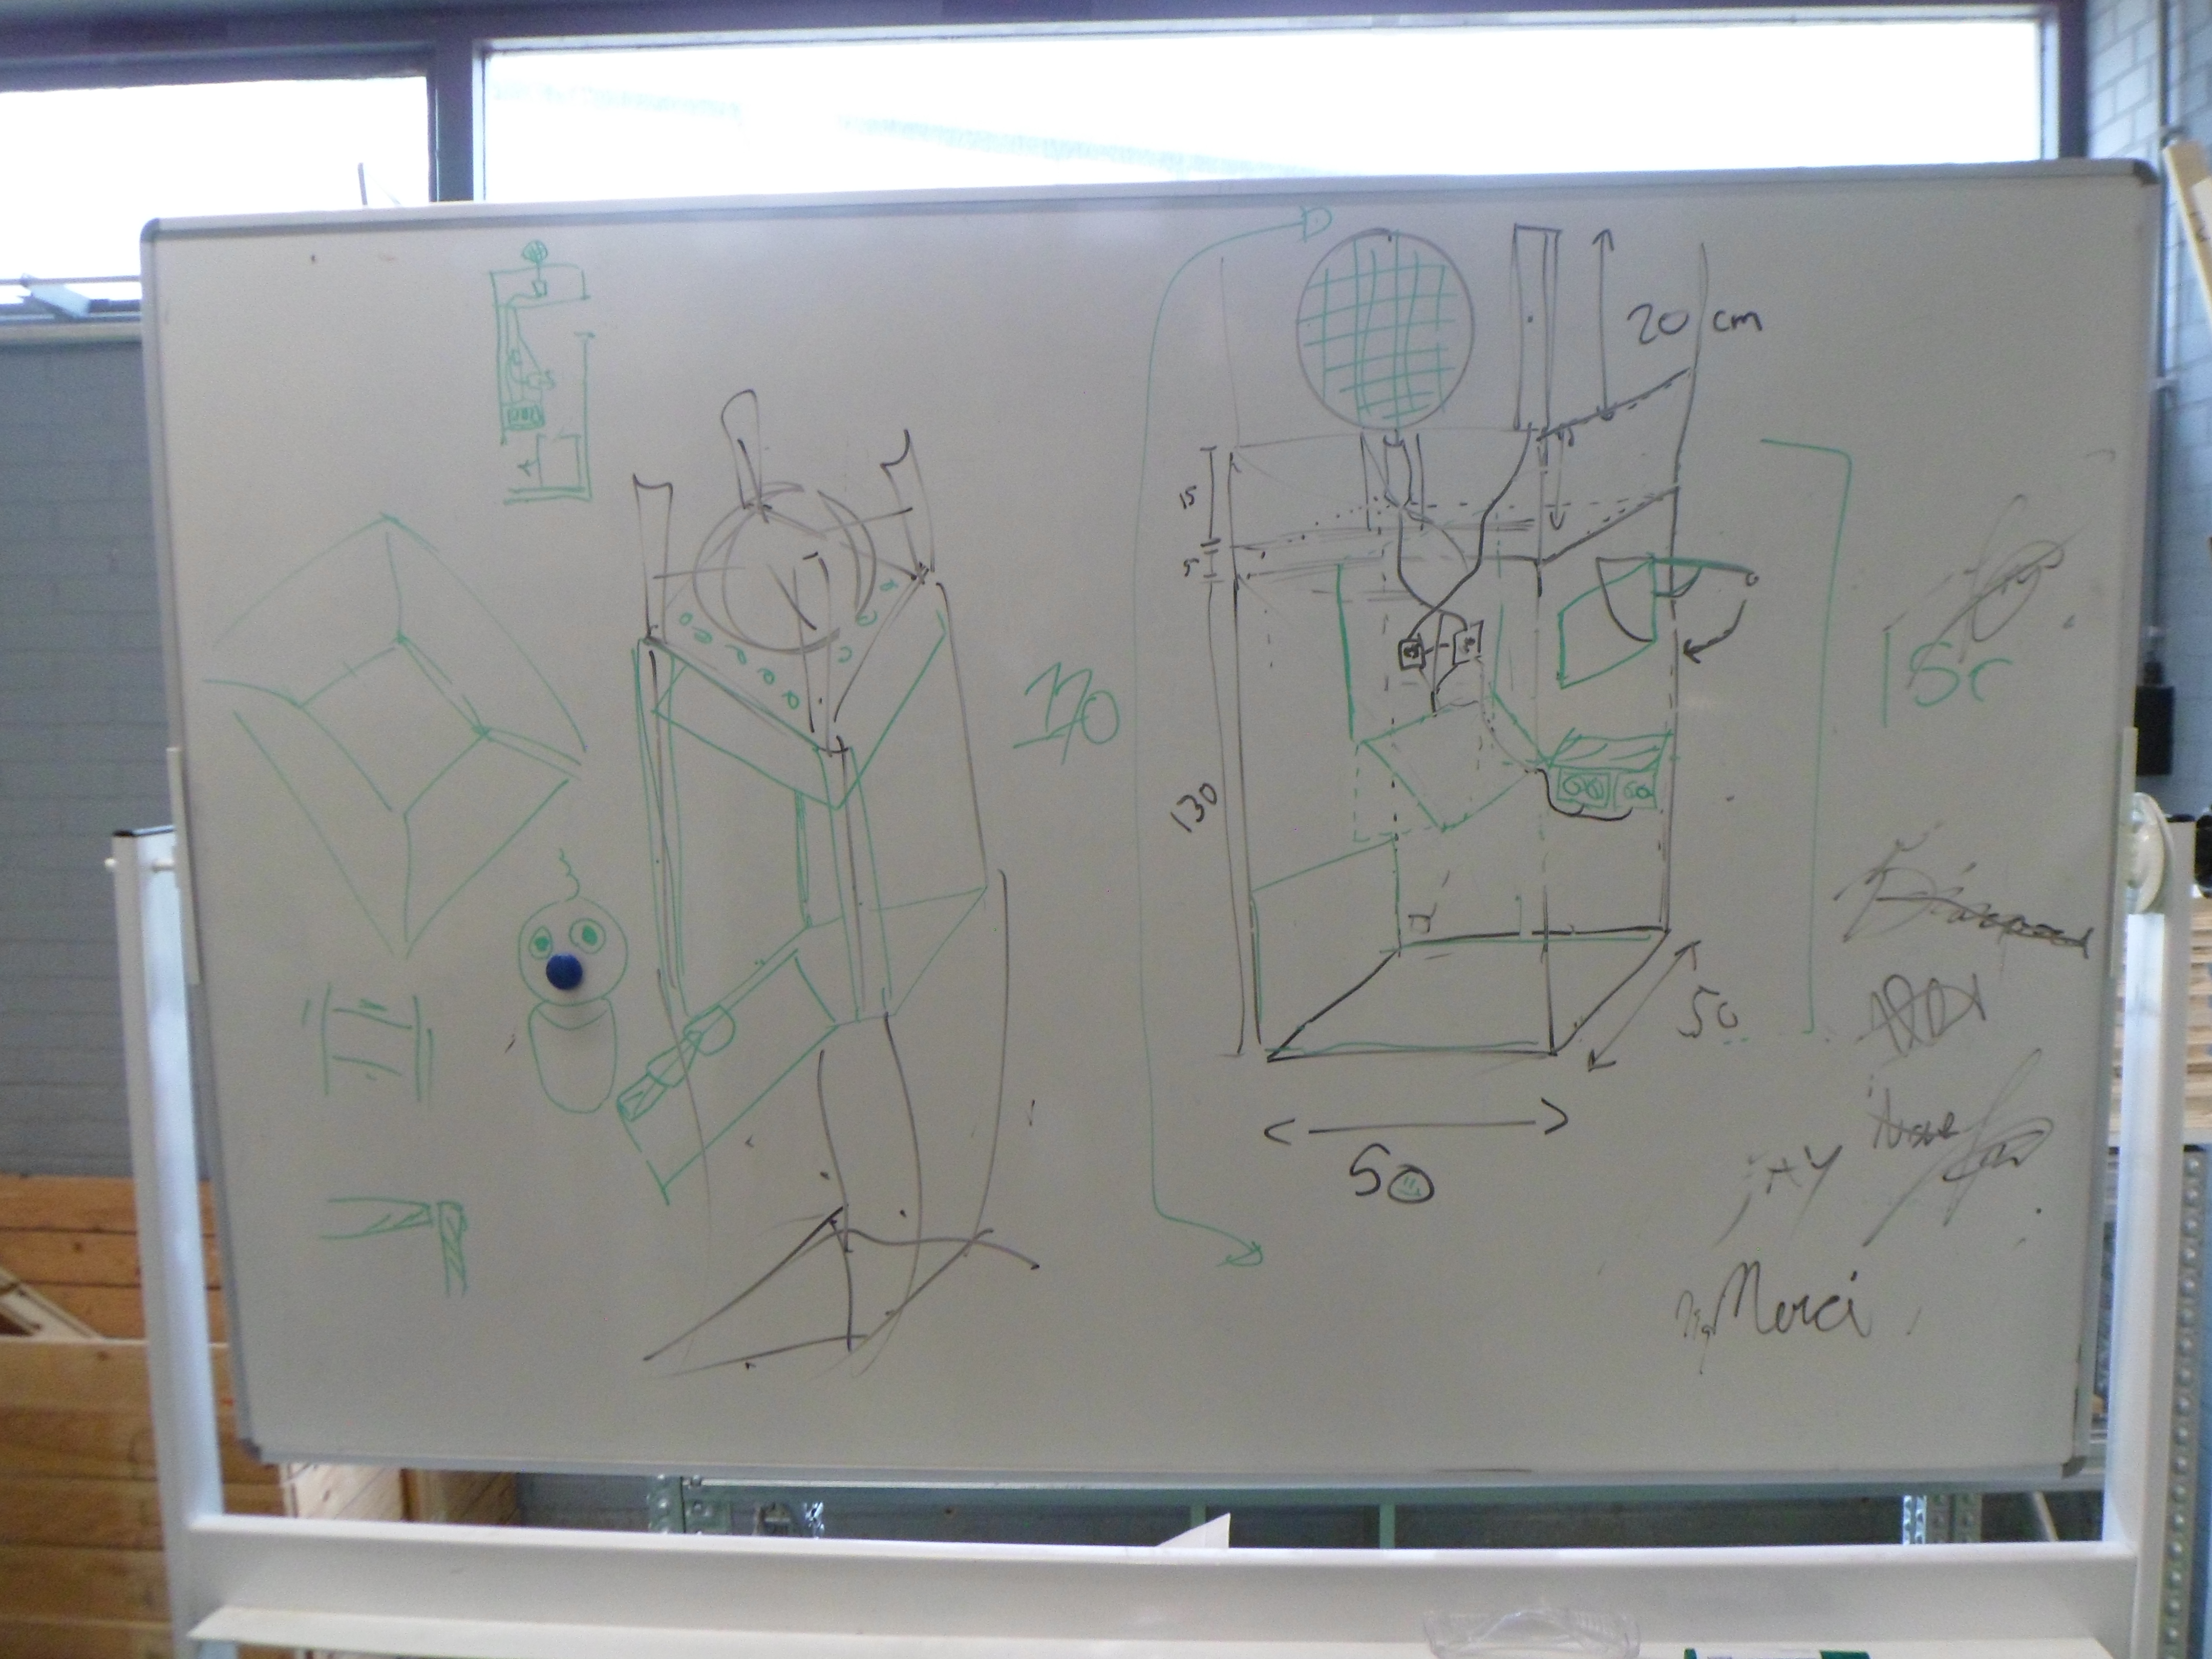
Planning sensors, audio, and messaging
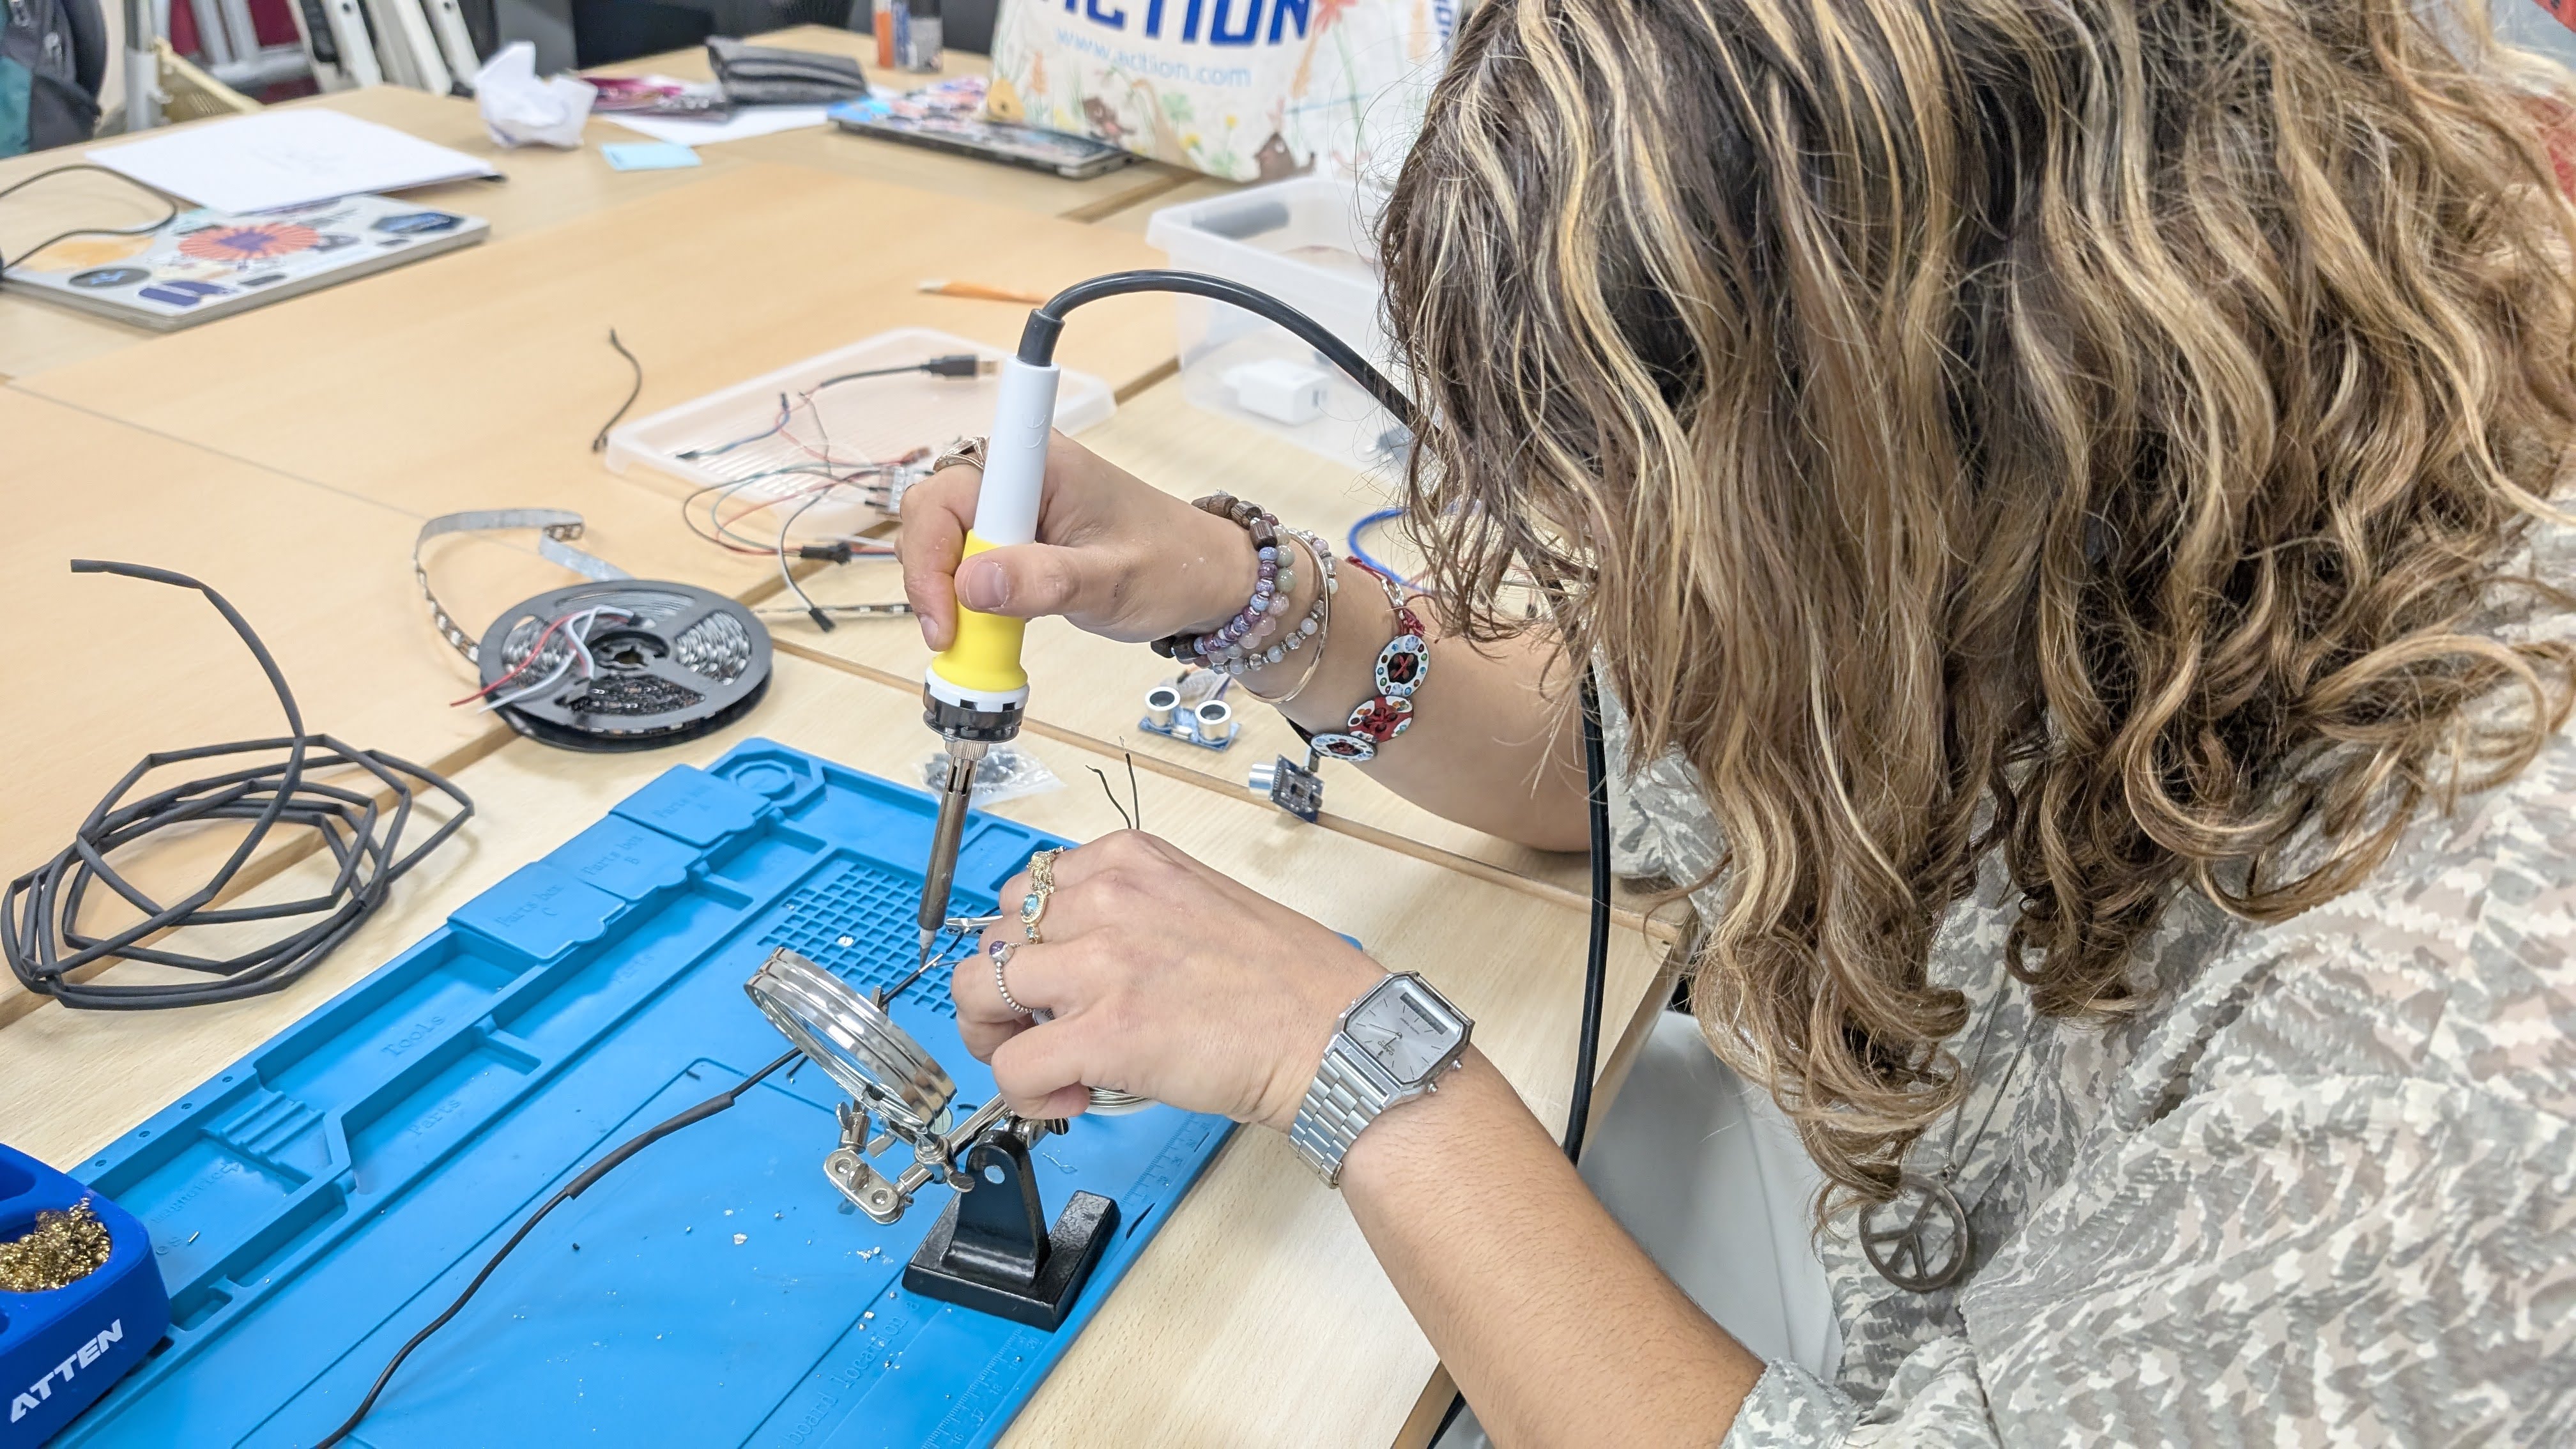
Nick mapped the control system: two ultrasonic sensors fan out across the slot, a relay drives the disco ball motor, the Adafruit Audio Shield handles playback, and serial messages sync everything with Nasi’s ESP32 listener.
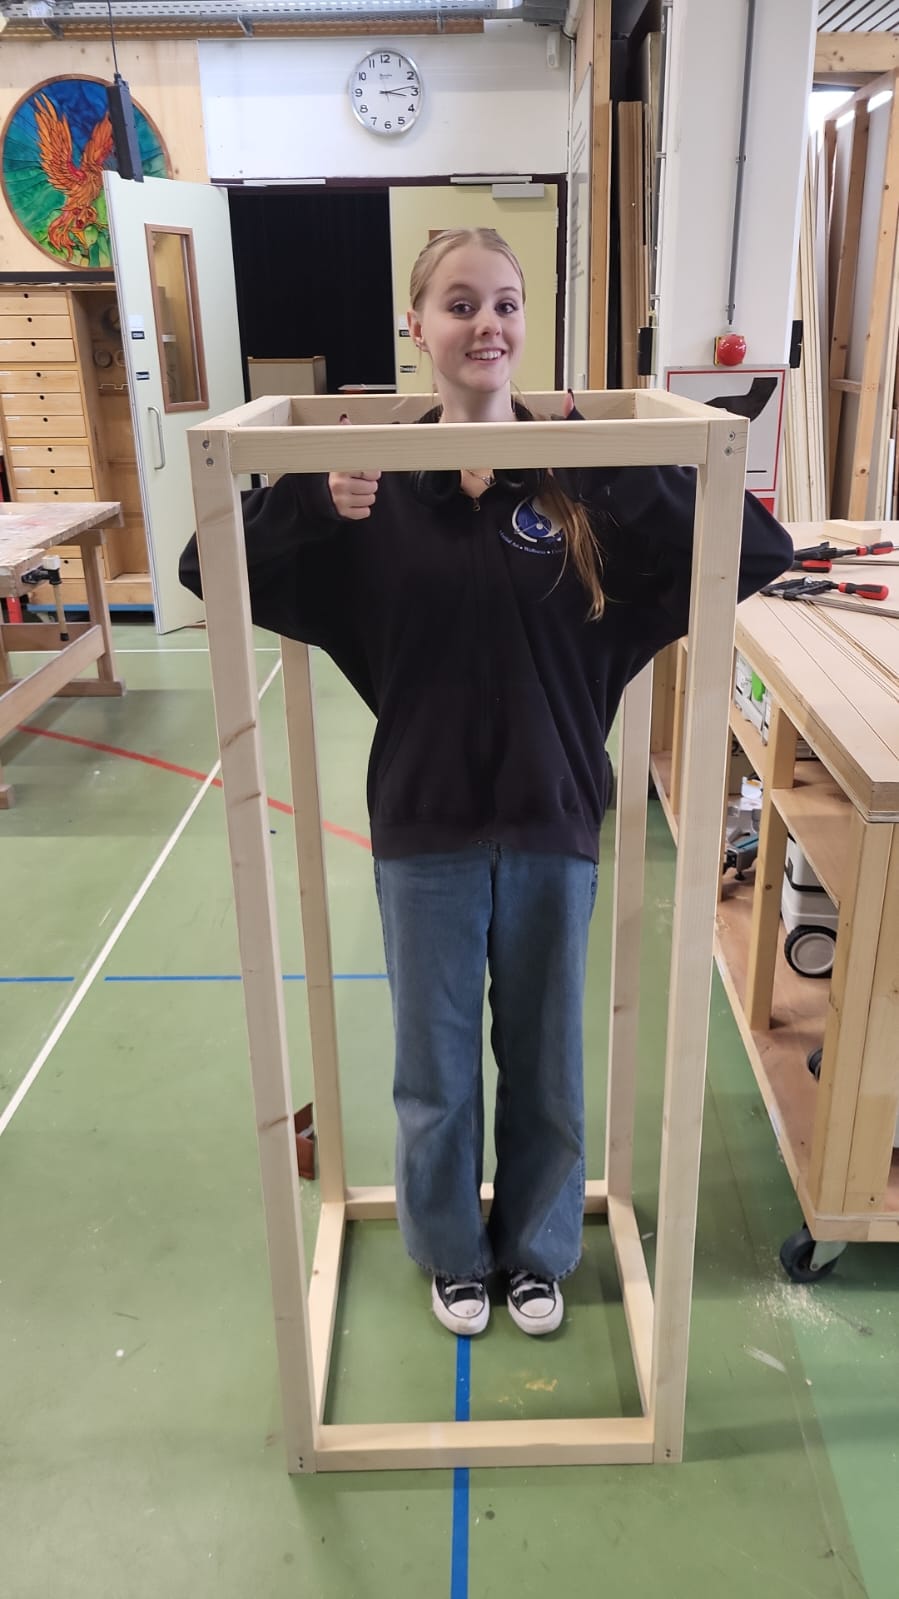
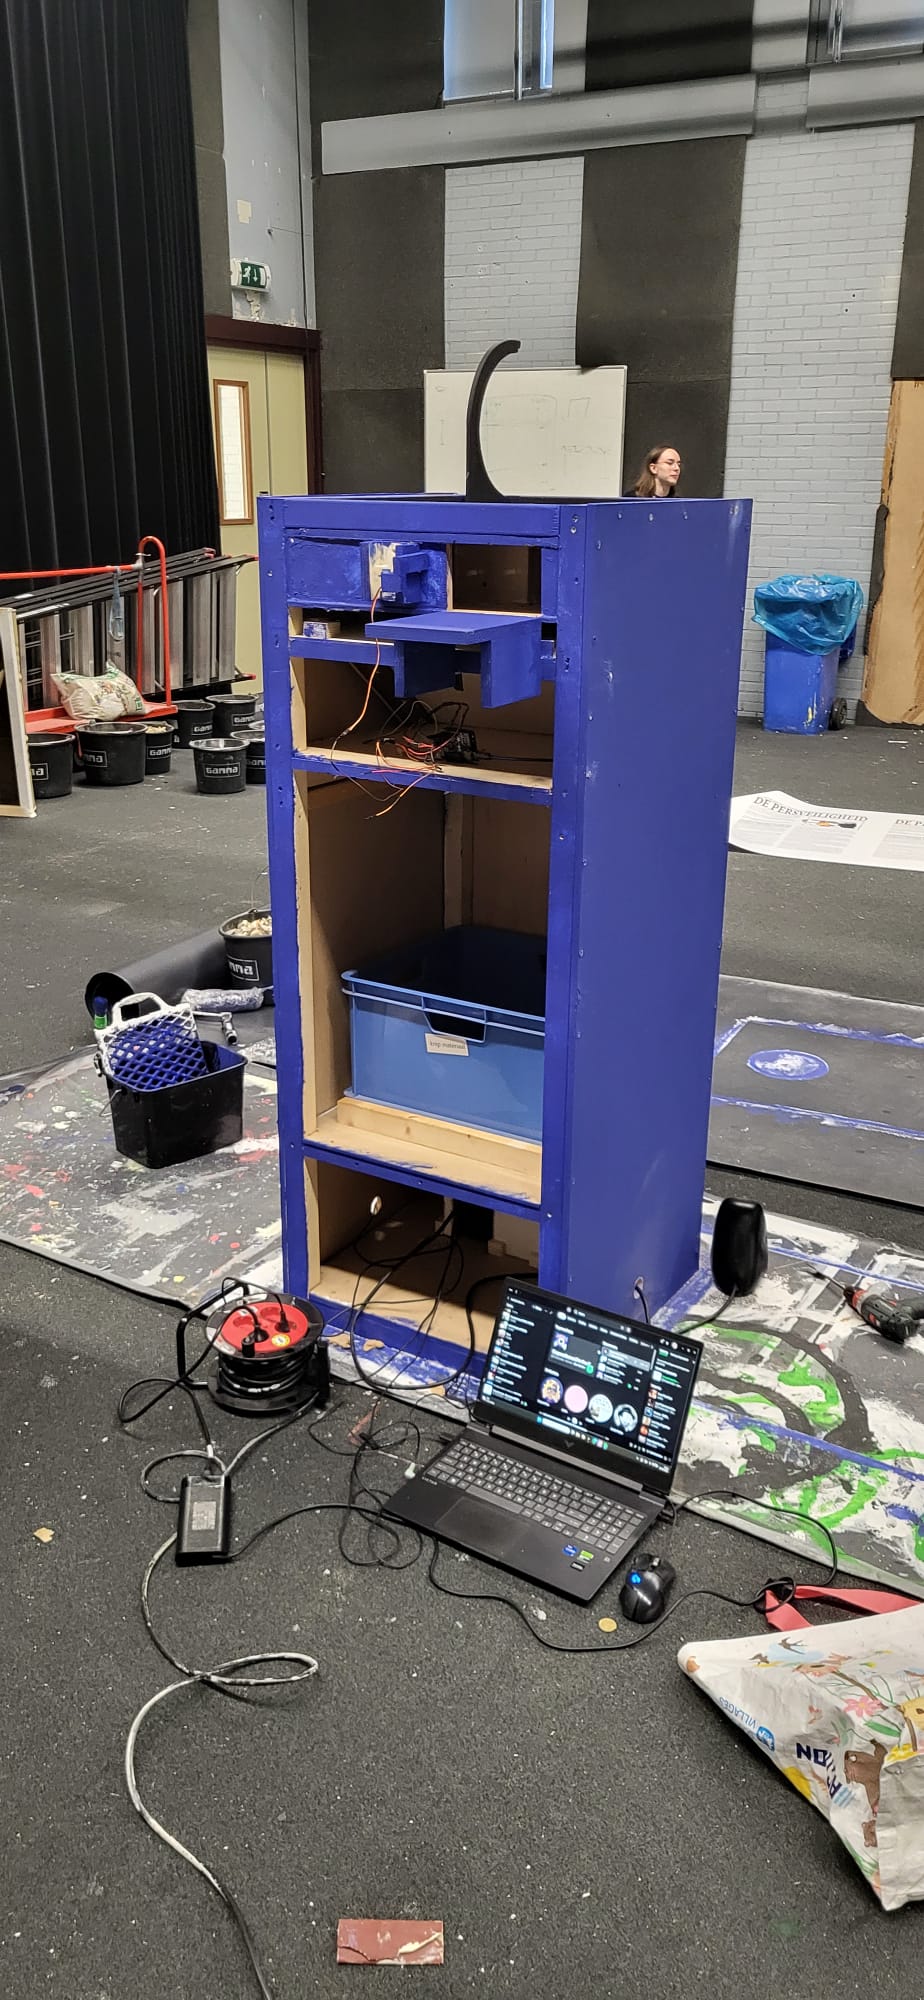
Framing the body
The duo milled beams, predrilled everything, and assembled the tall cabinet with diagonal bracing so the disco ball mount has zero wobble.

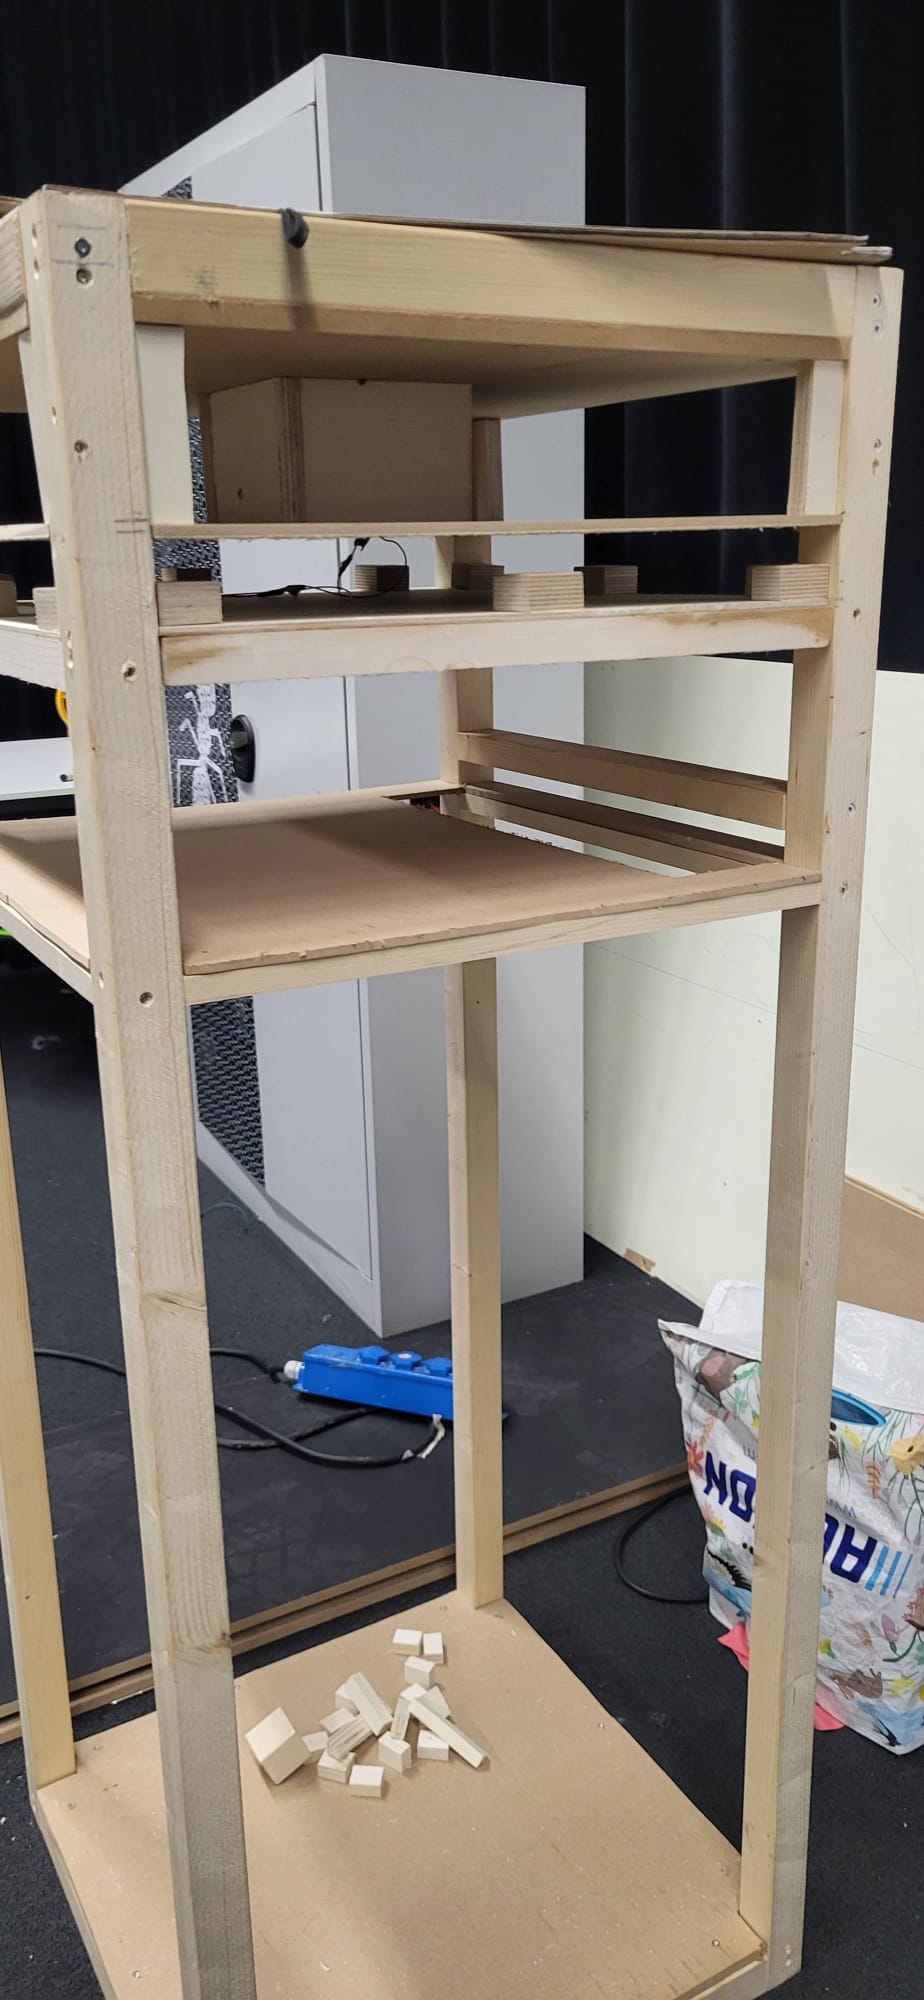
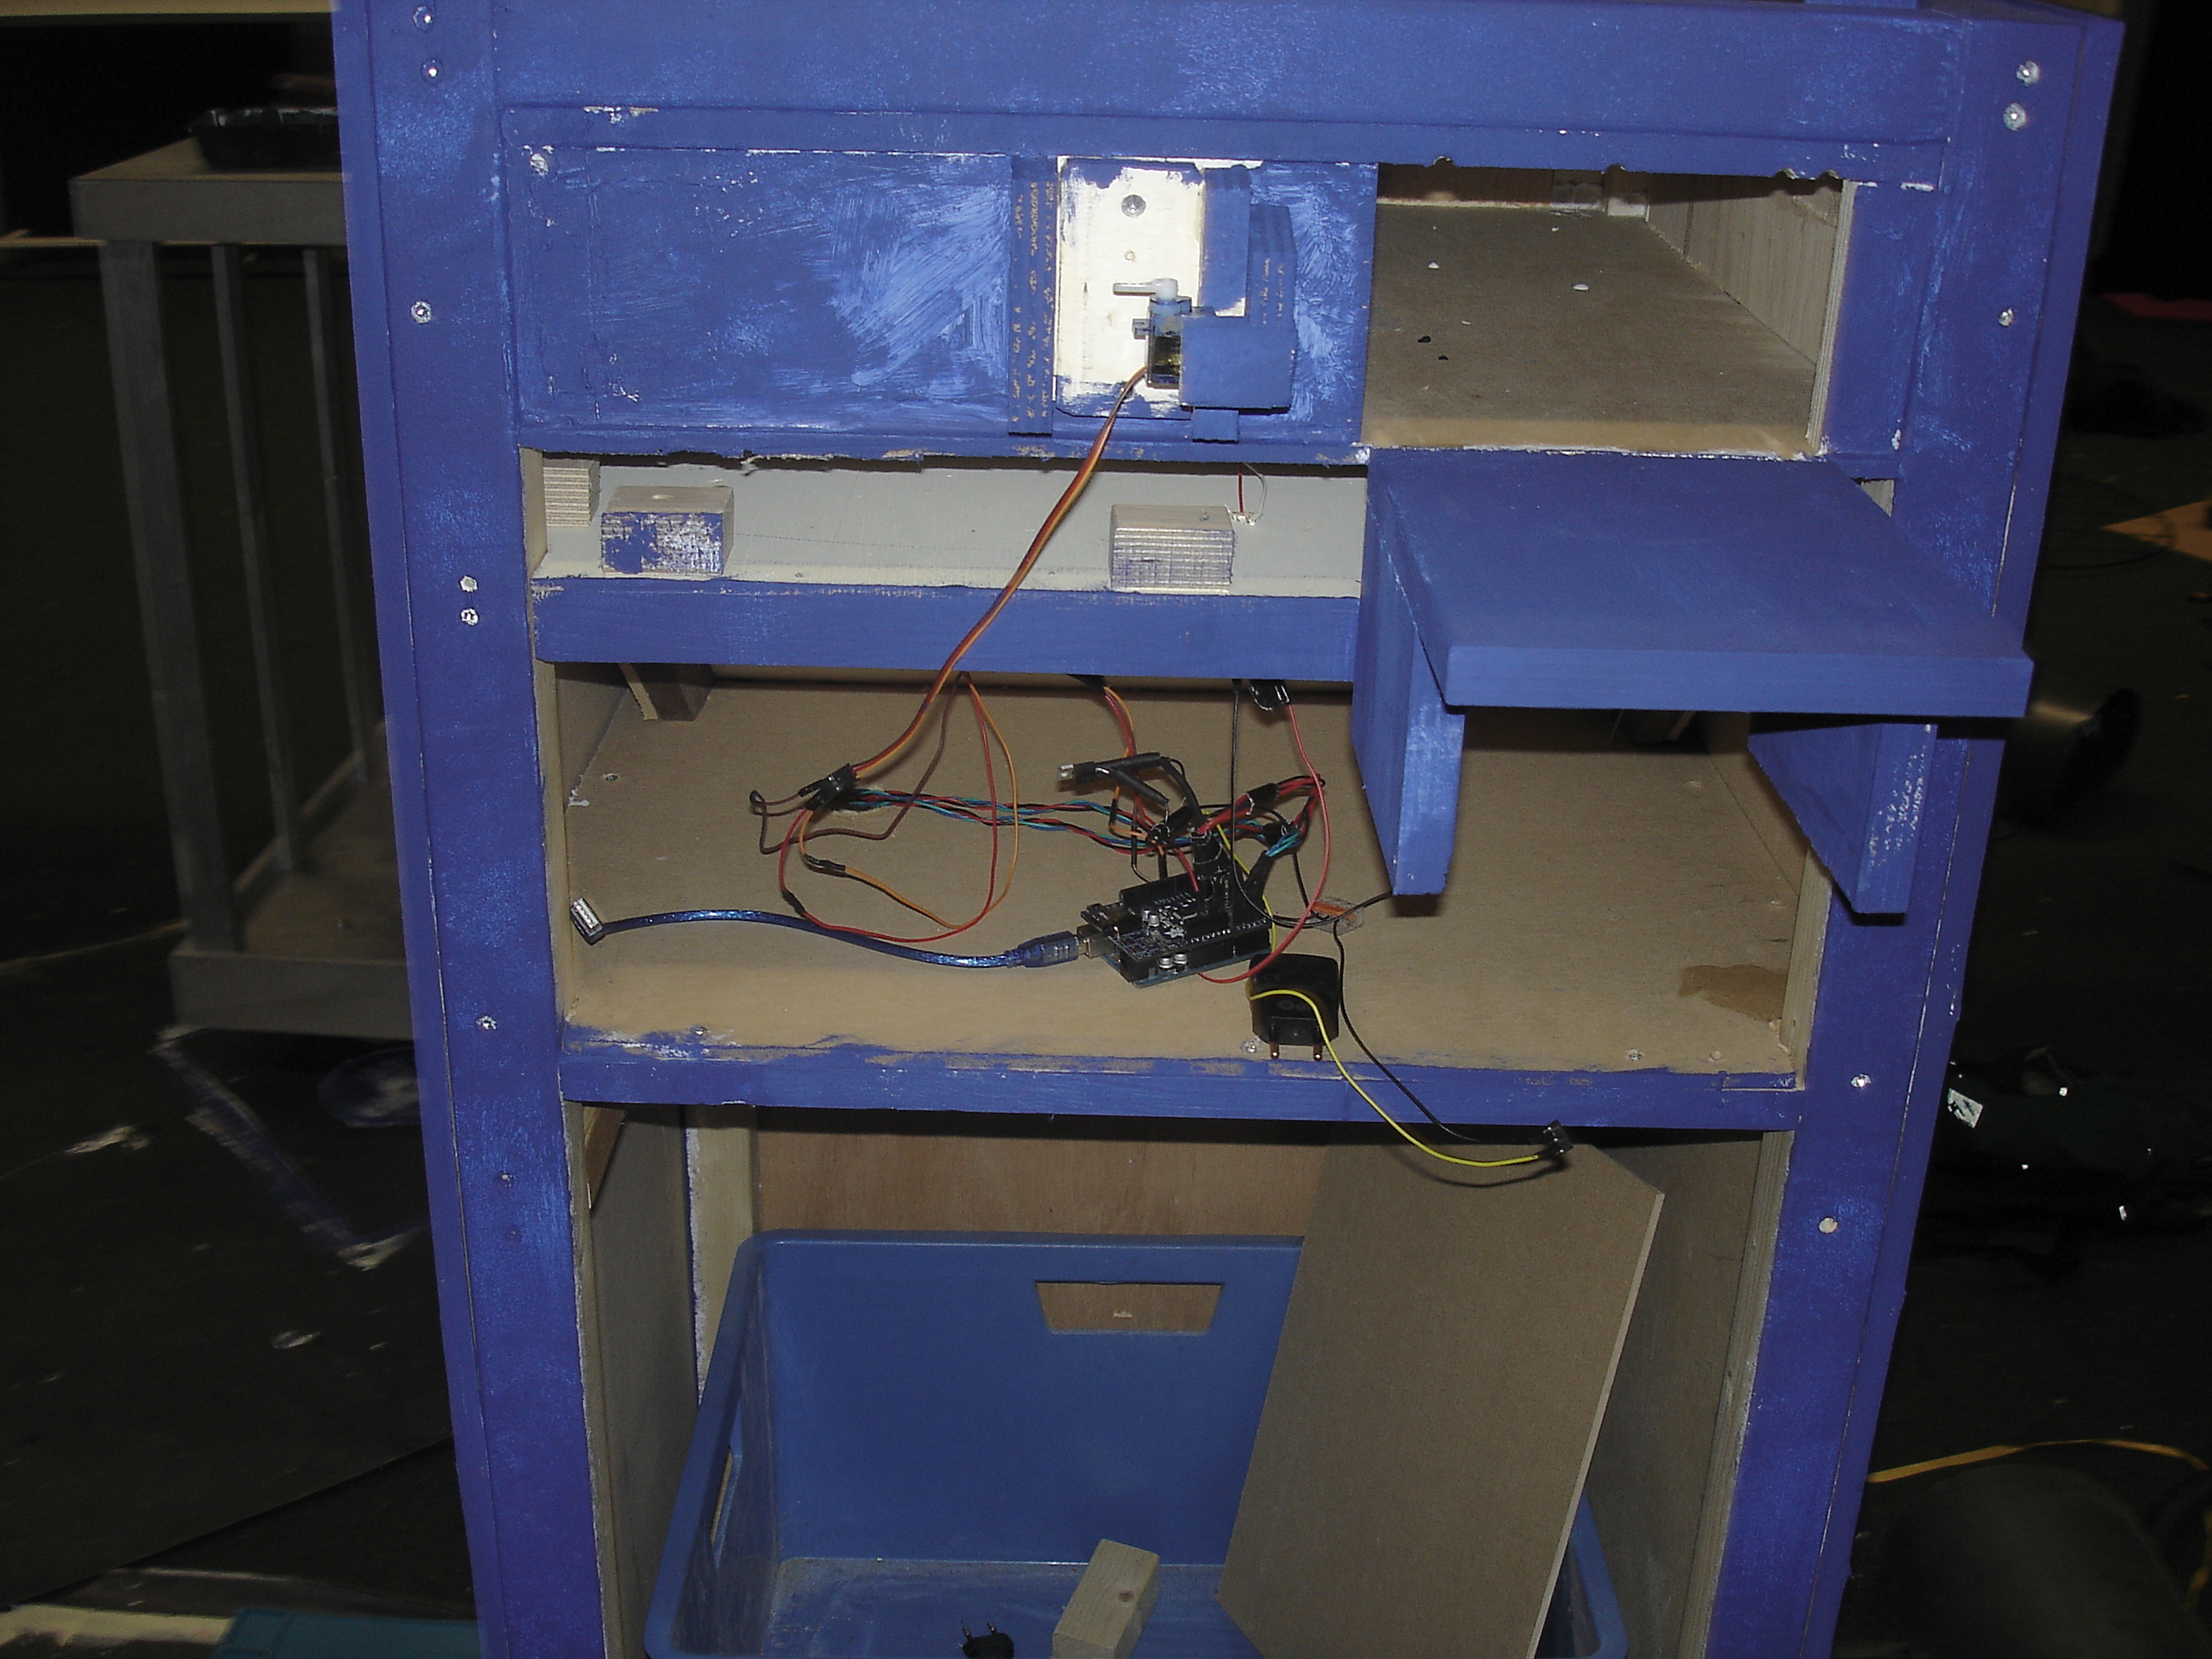
Shelves, chute, and mounting real estate
Internal shelves split low-voltage electronics from the motor zone, a slanted chute sits behind the slot, and every cable pass-through was drilled before wiring began.

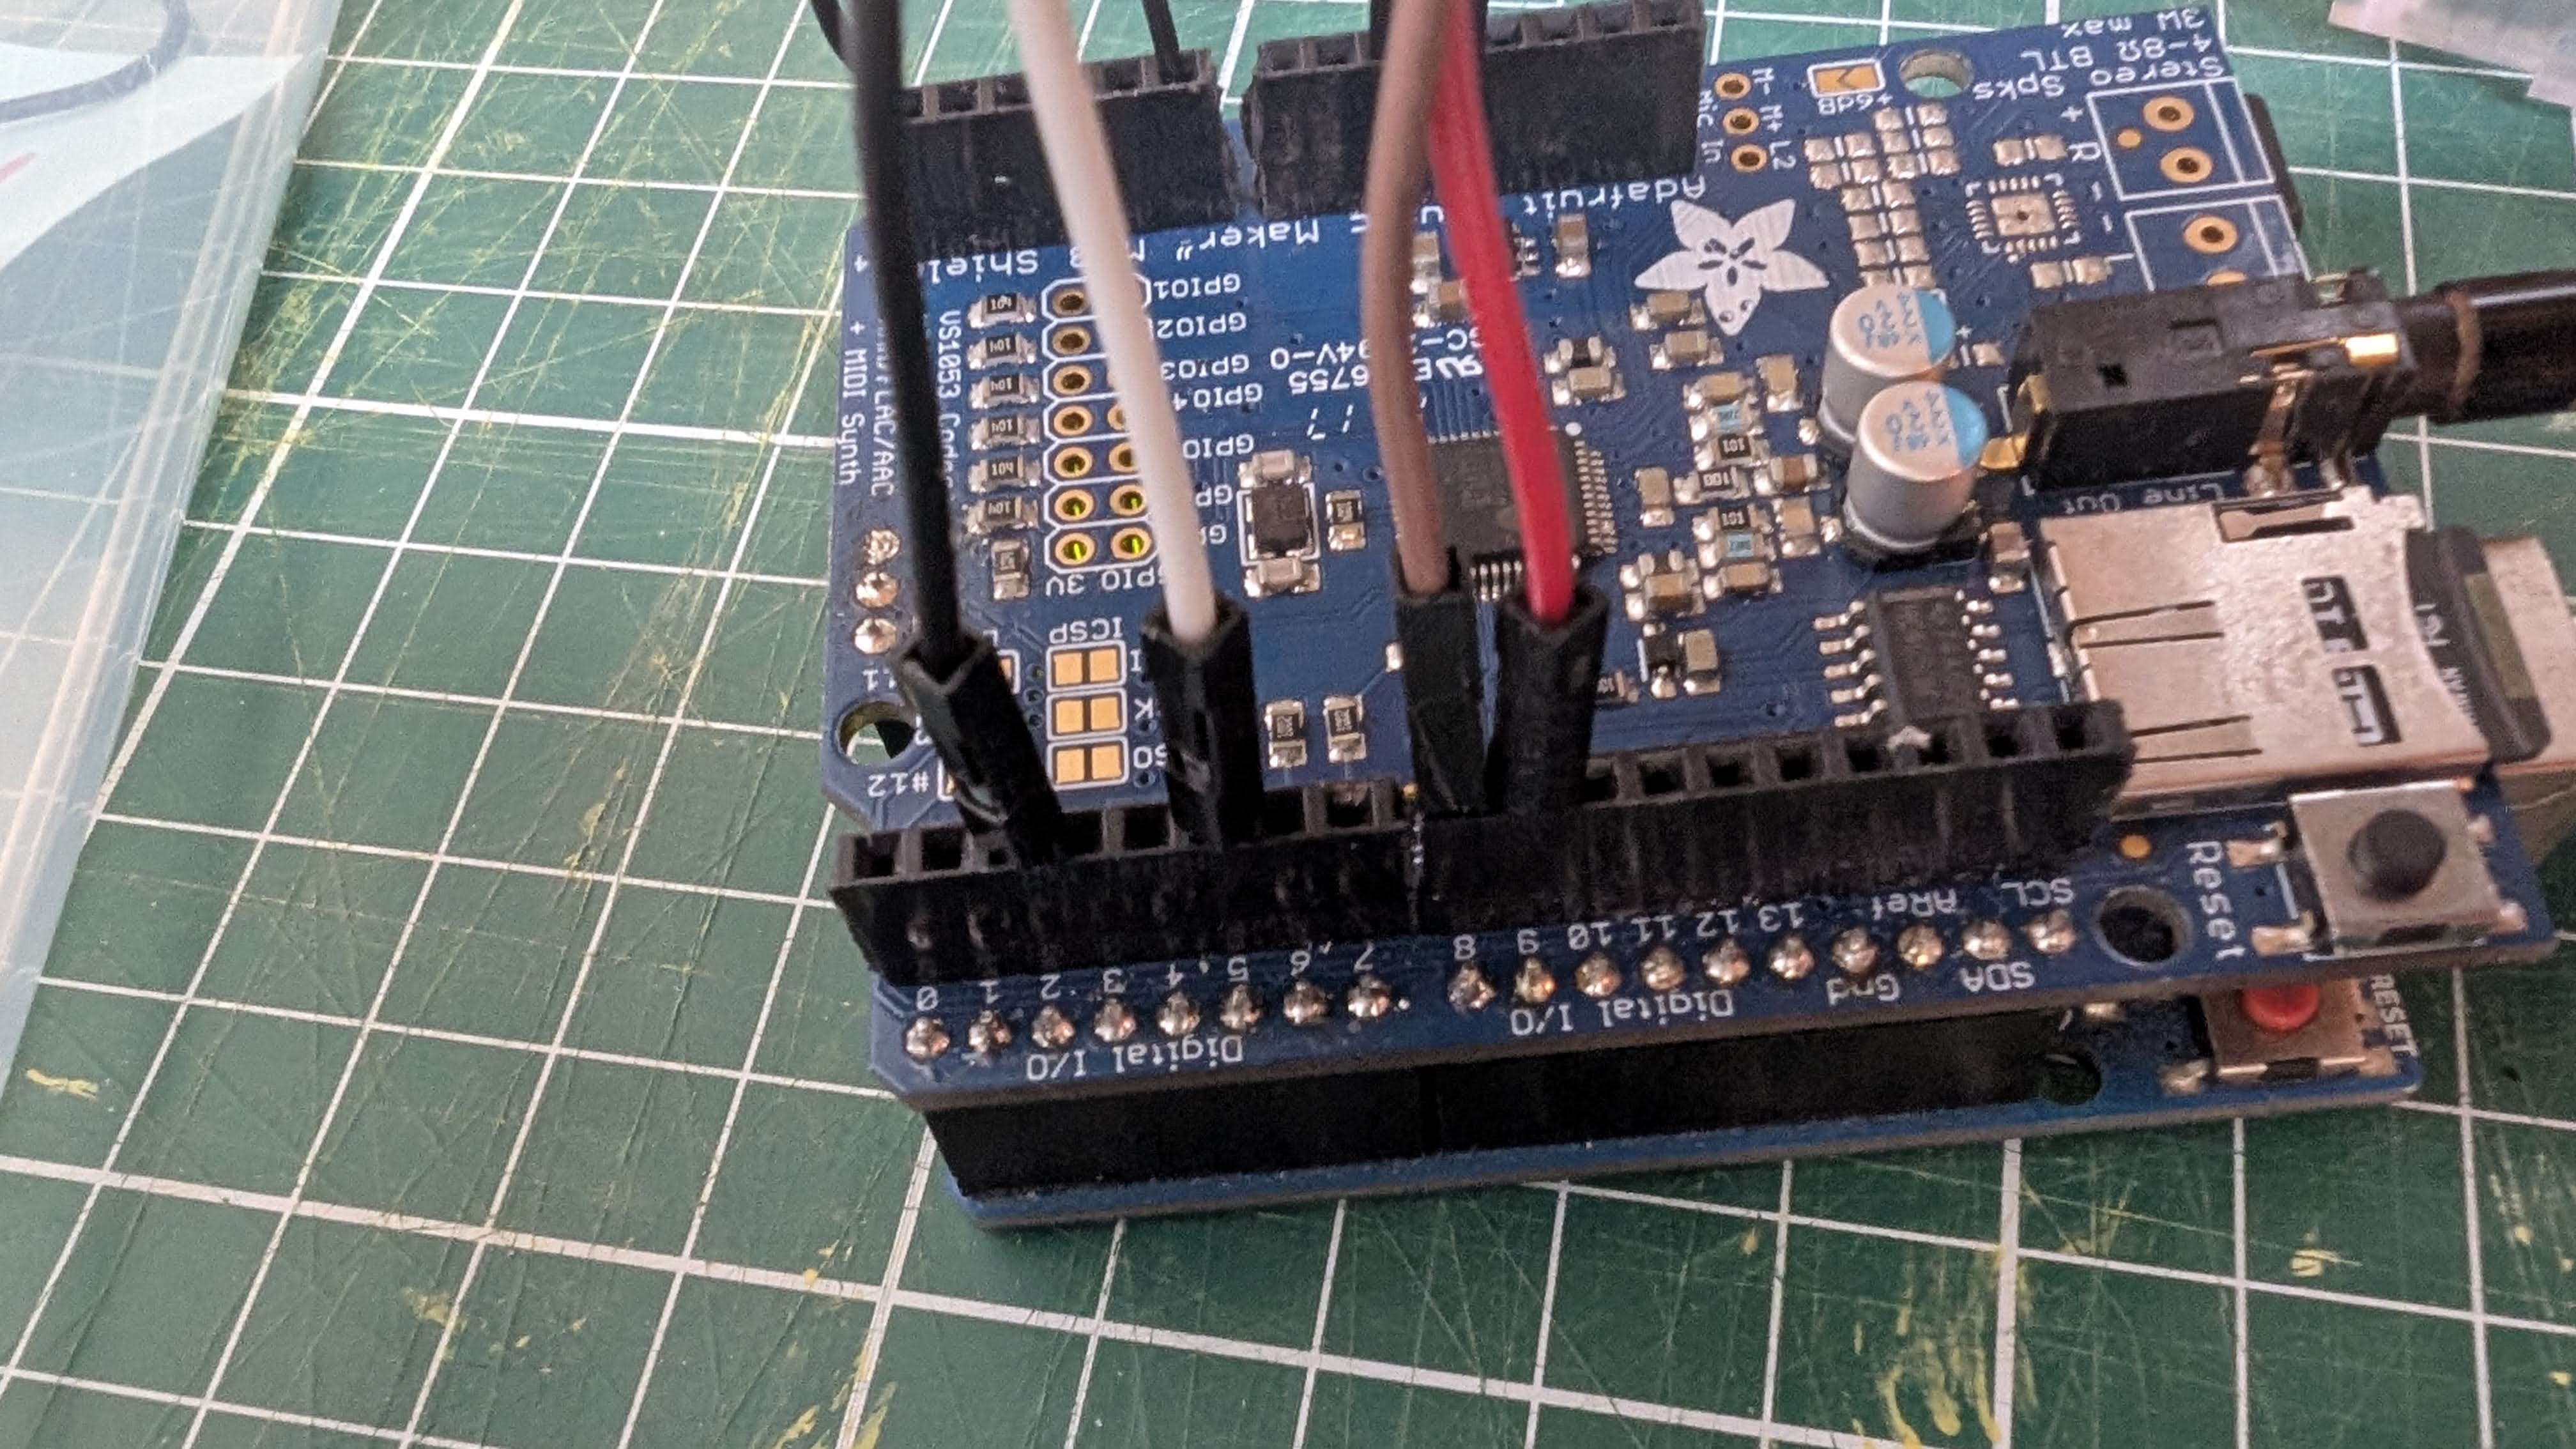
Arduino sensors, audio, and motor control
The Arduino sketch filters ultrasonic data with a median window, detects entries, ramps the relay-driven motor, plays show audio, and relays START_SHOW / END_SHOW events back to the ESP32.
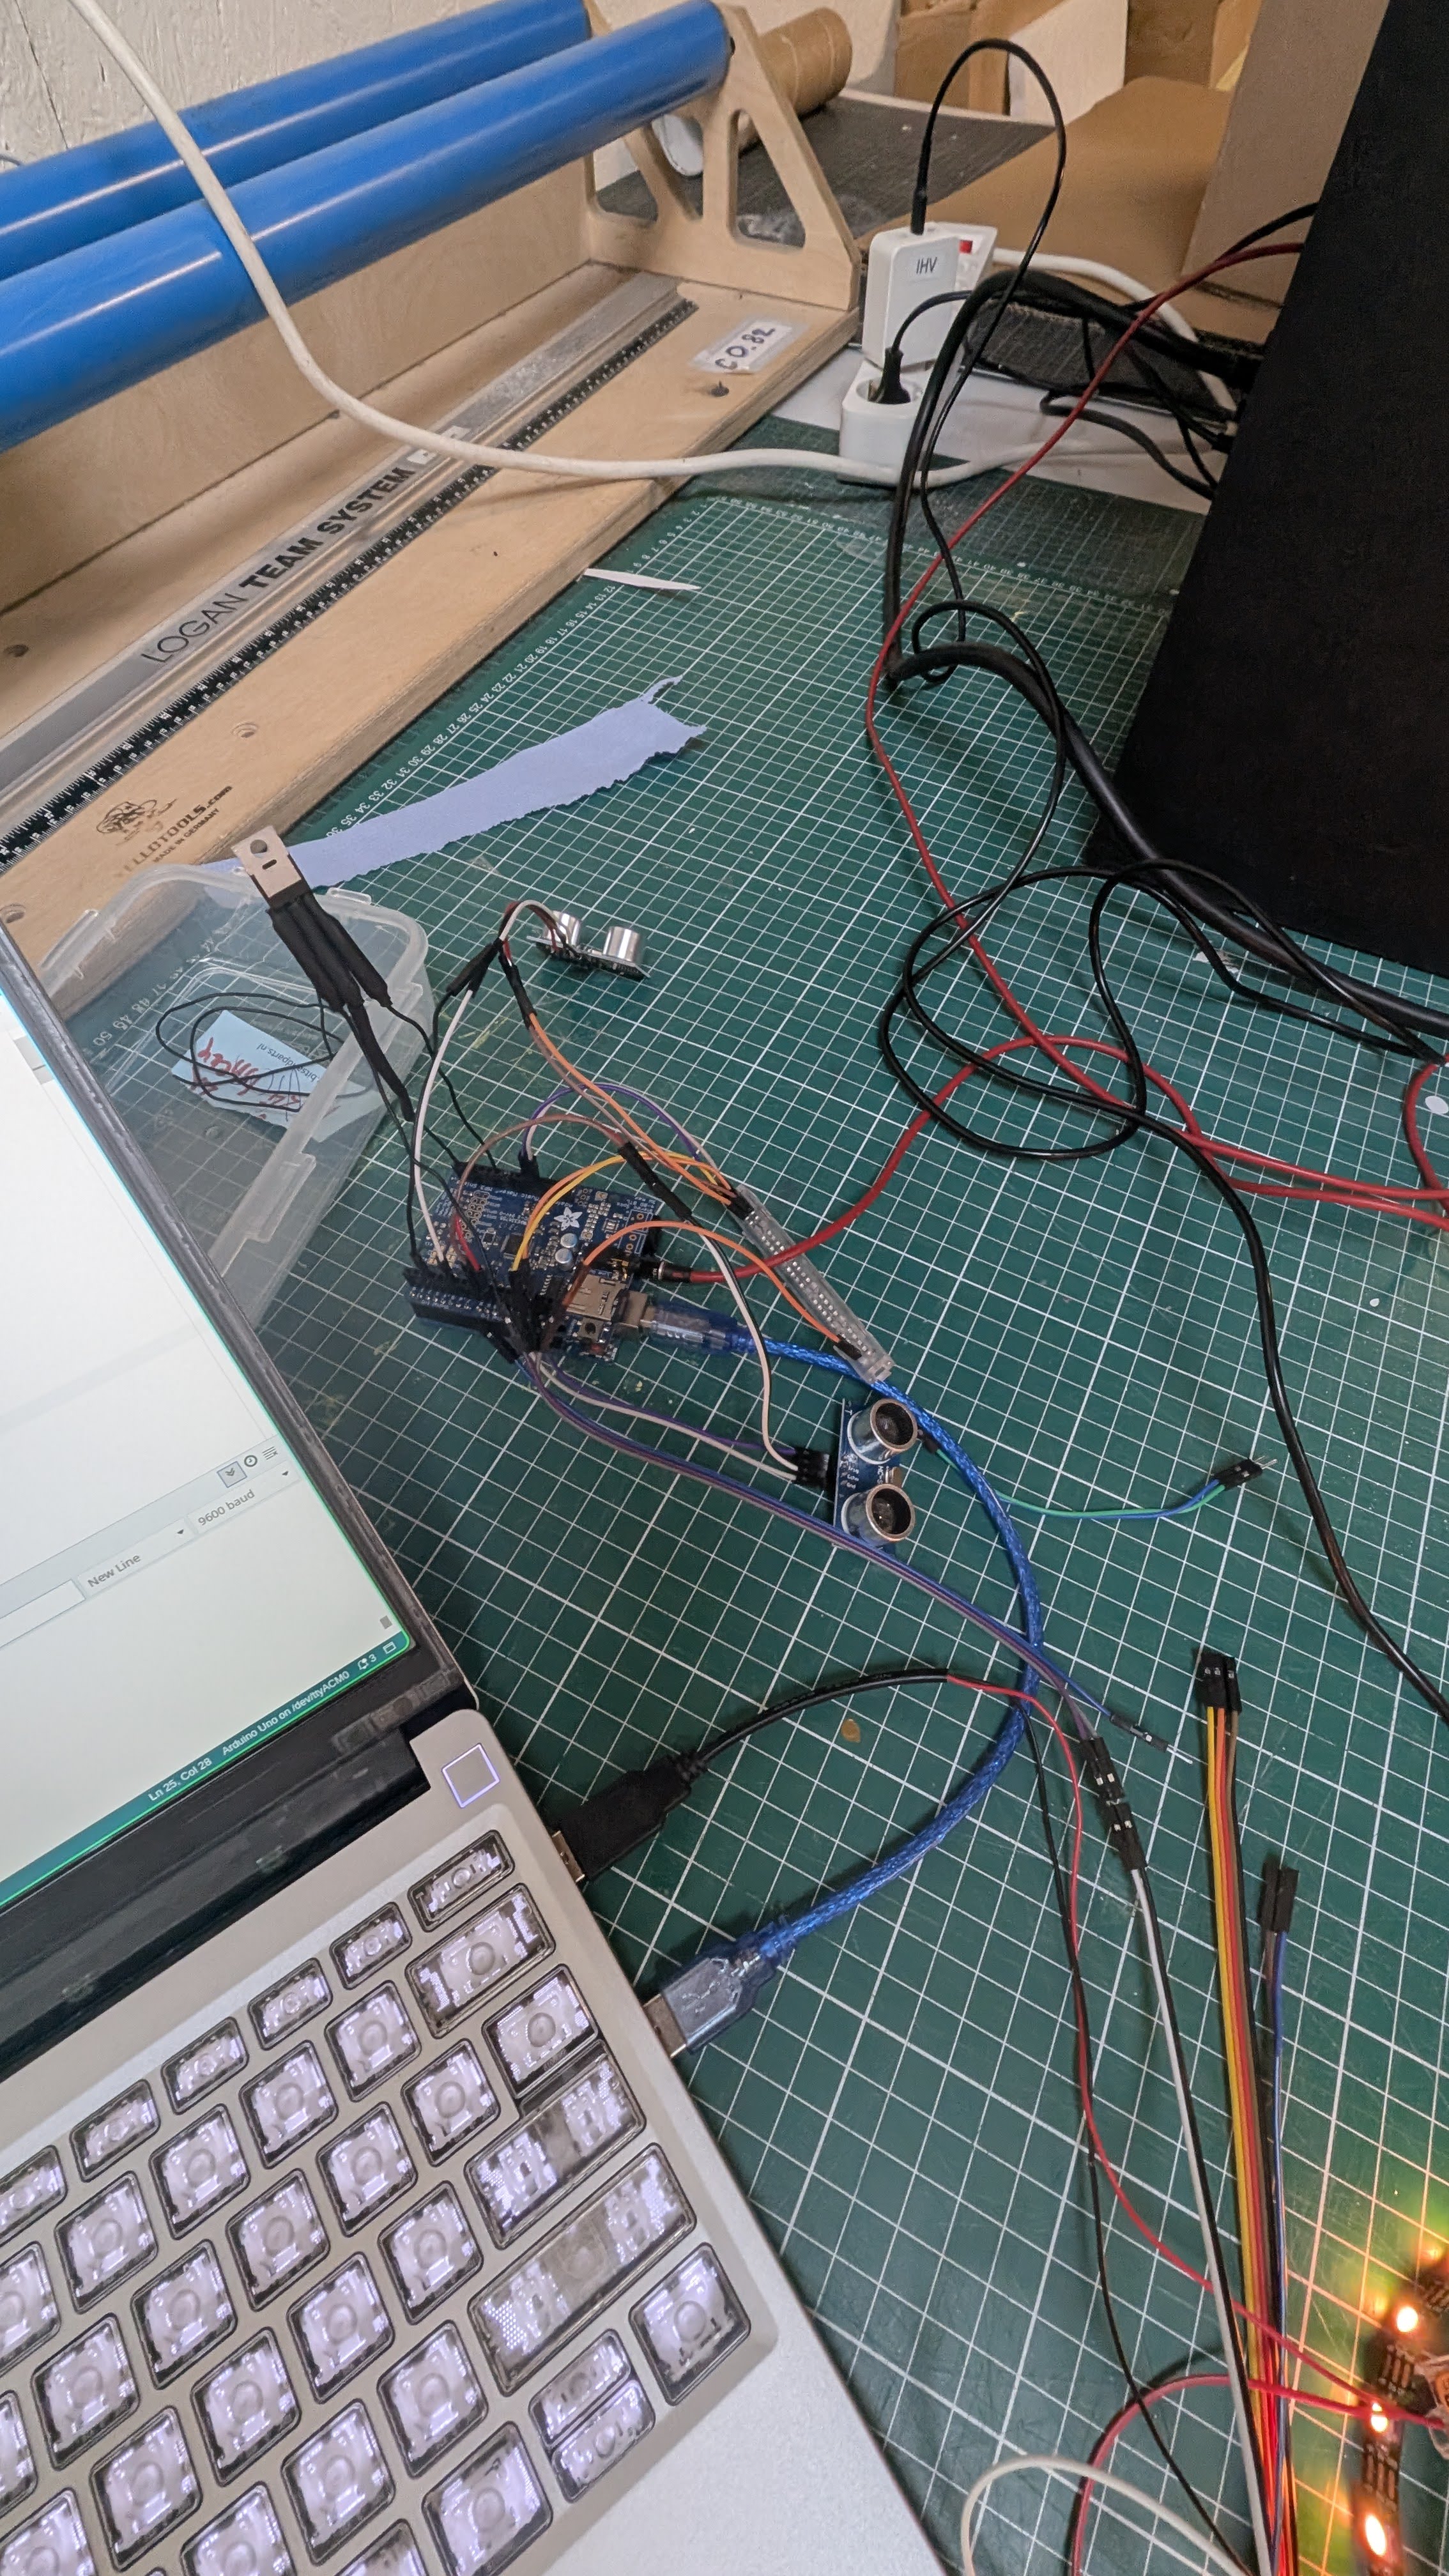
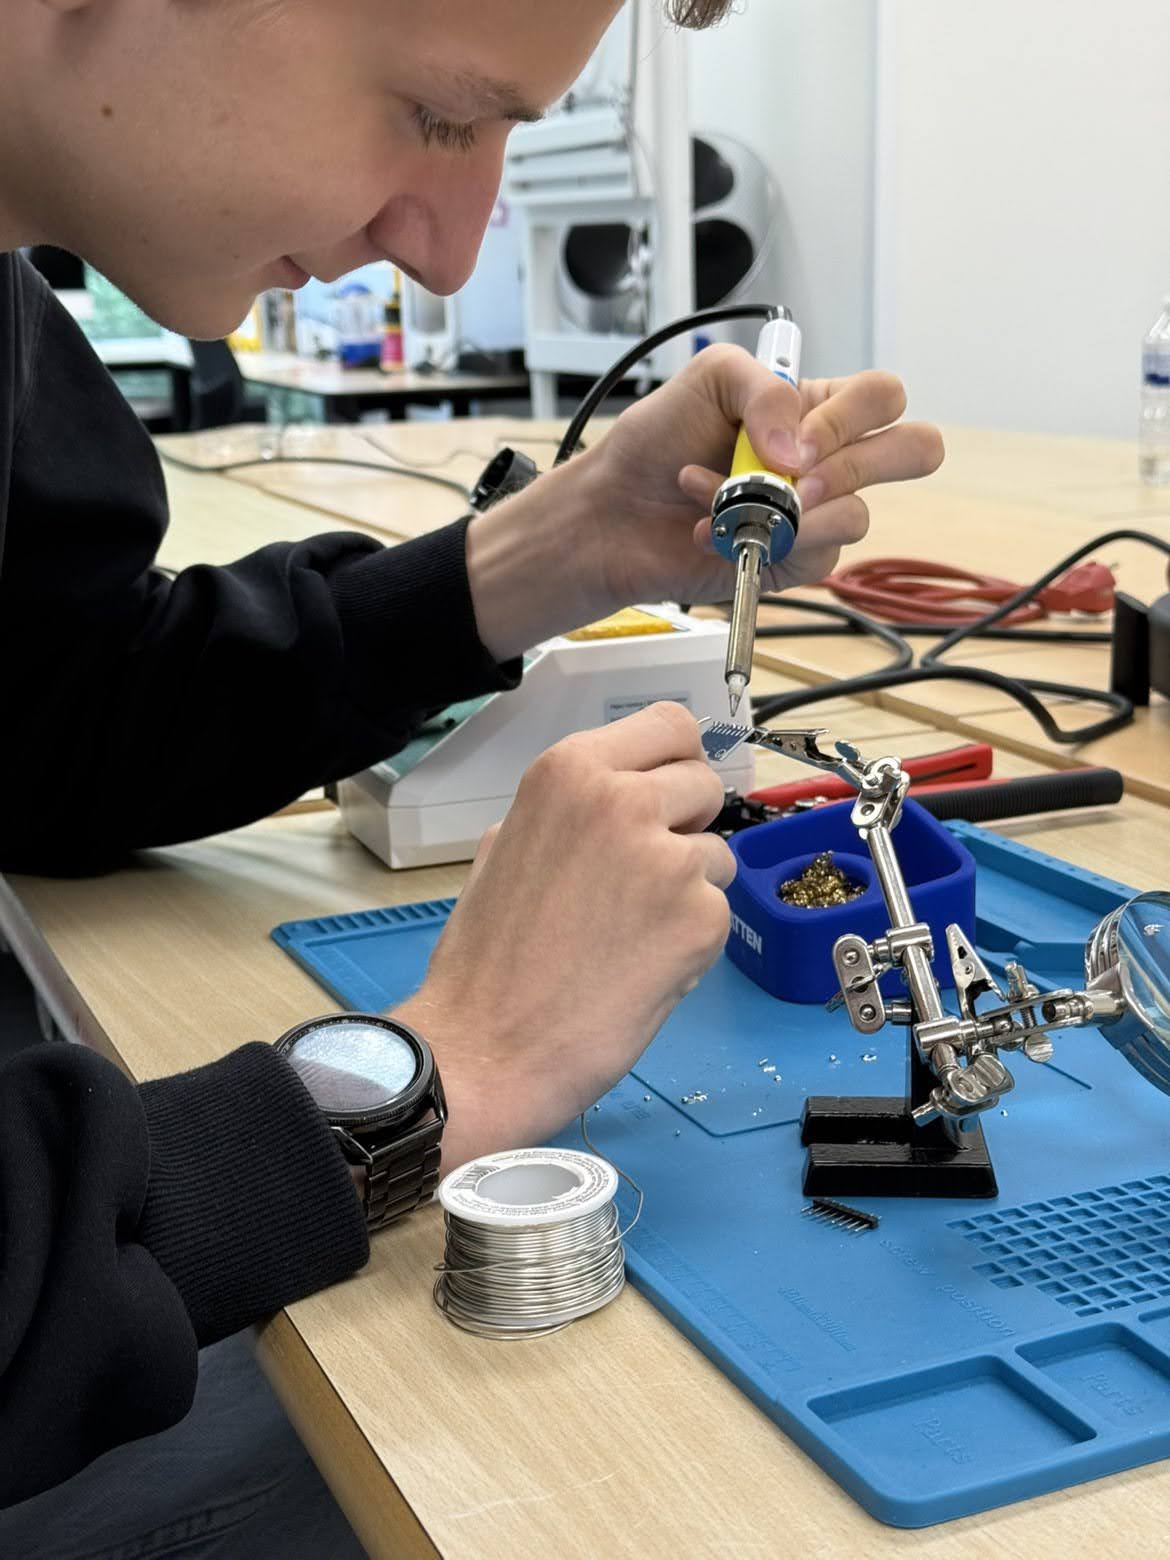
Power distribution and soldering marathon
Nick soldered sensor harnesses to JSTs, crimped spade connectors for the motor, and built fused 5 V / 12 V rails with a labeled ground bus.
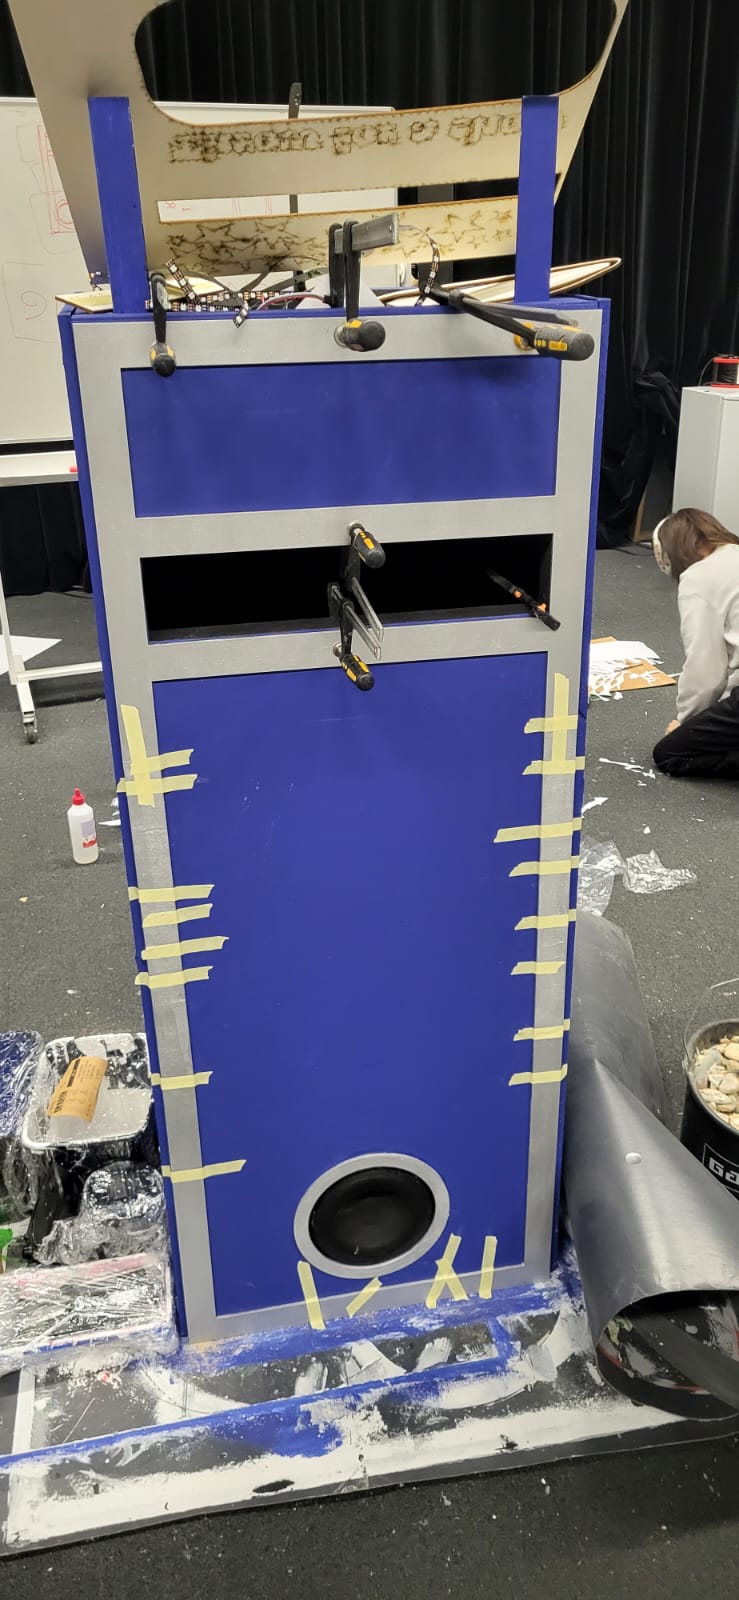
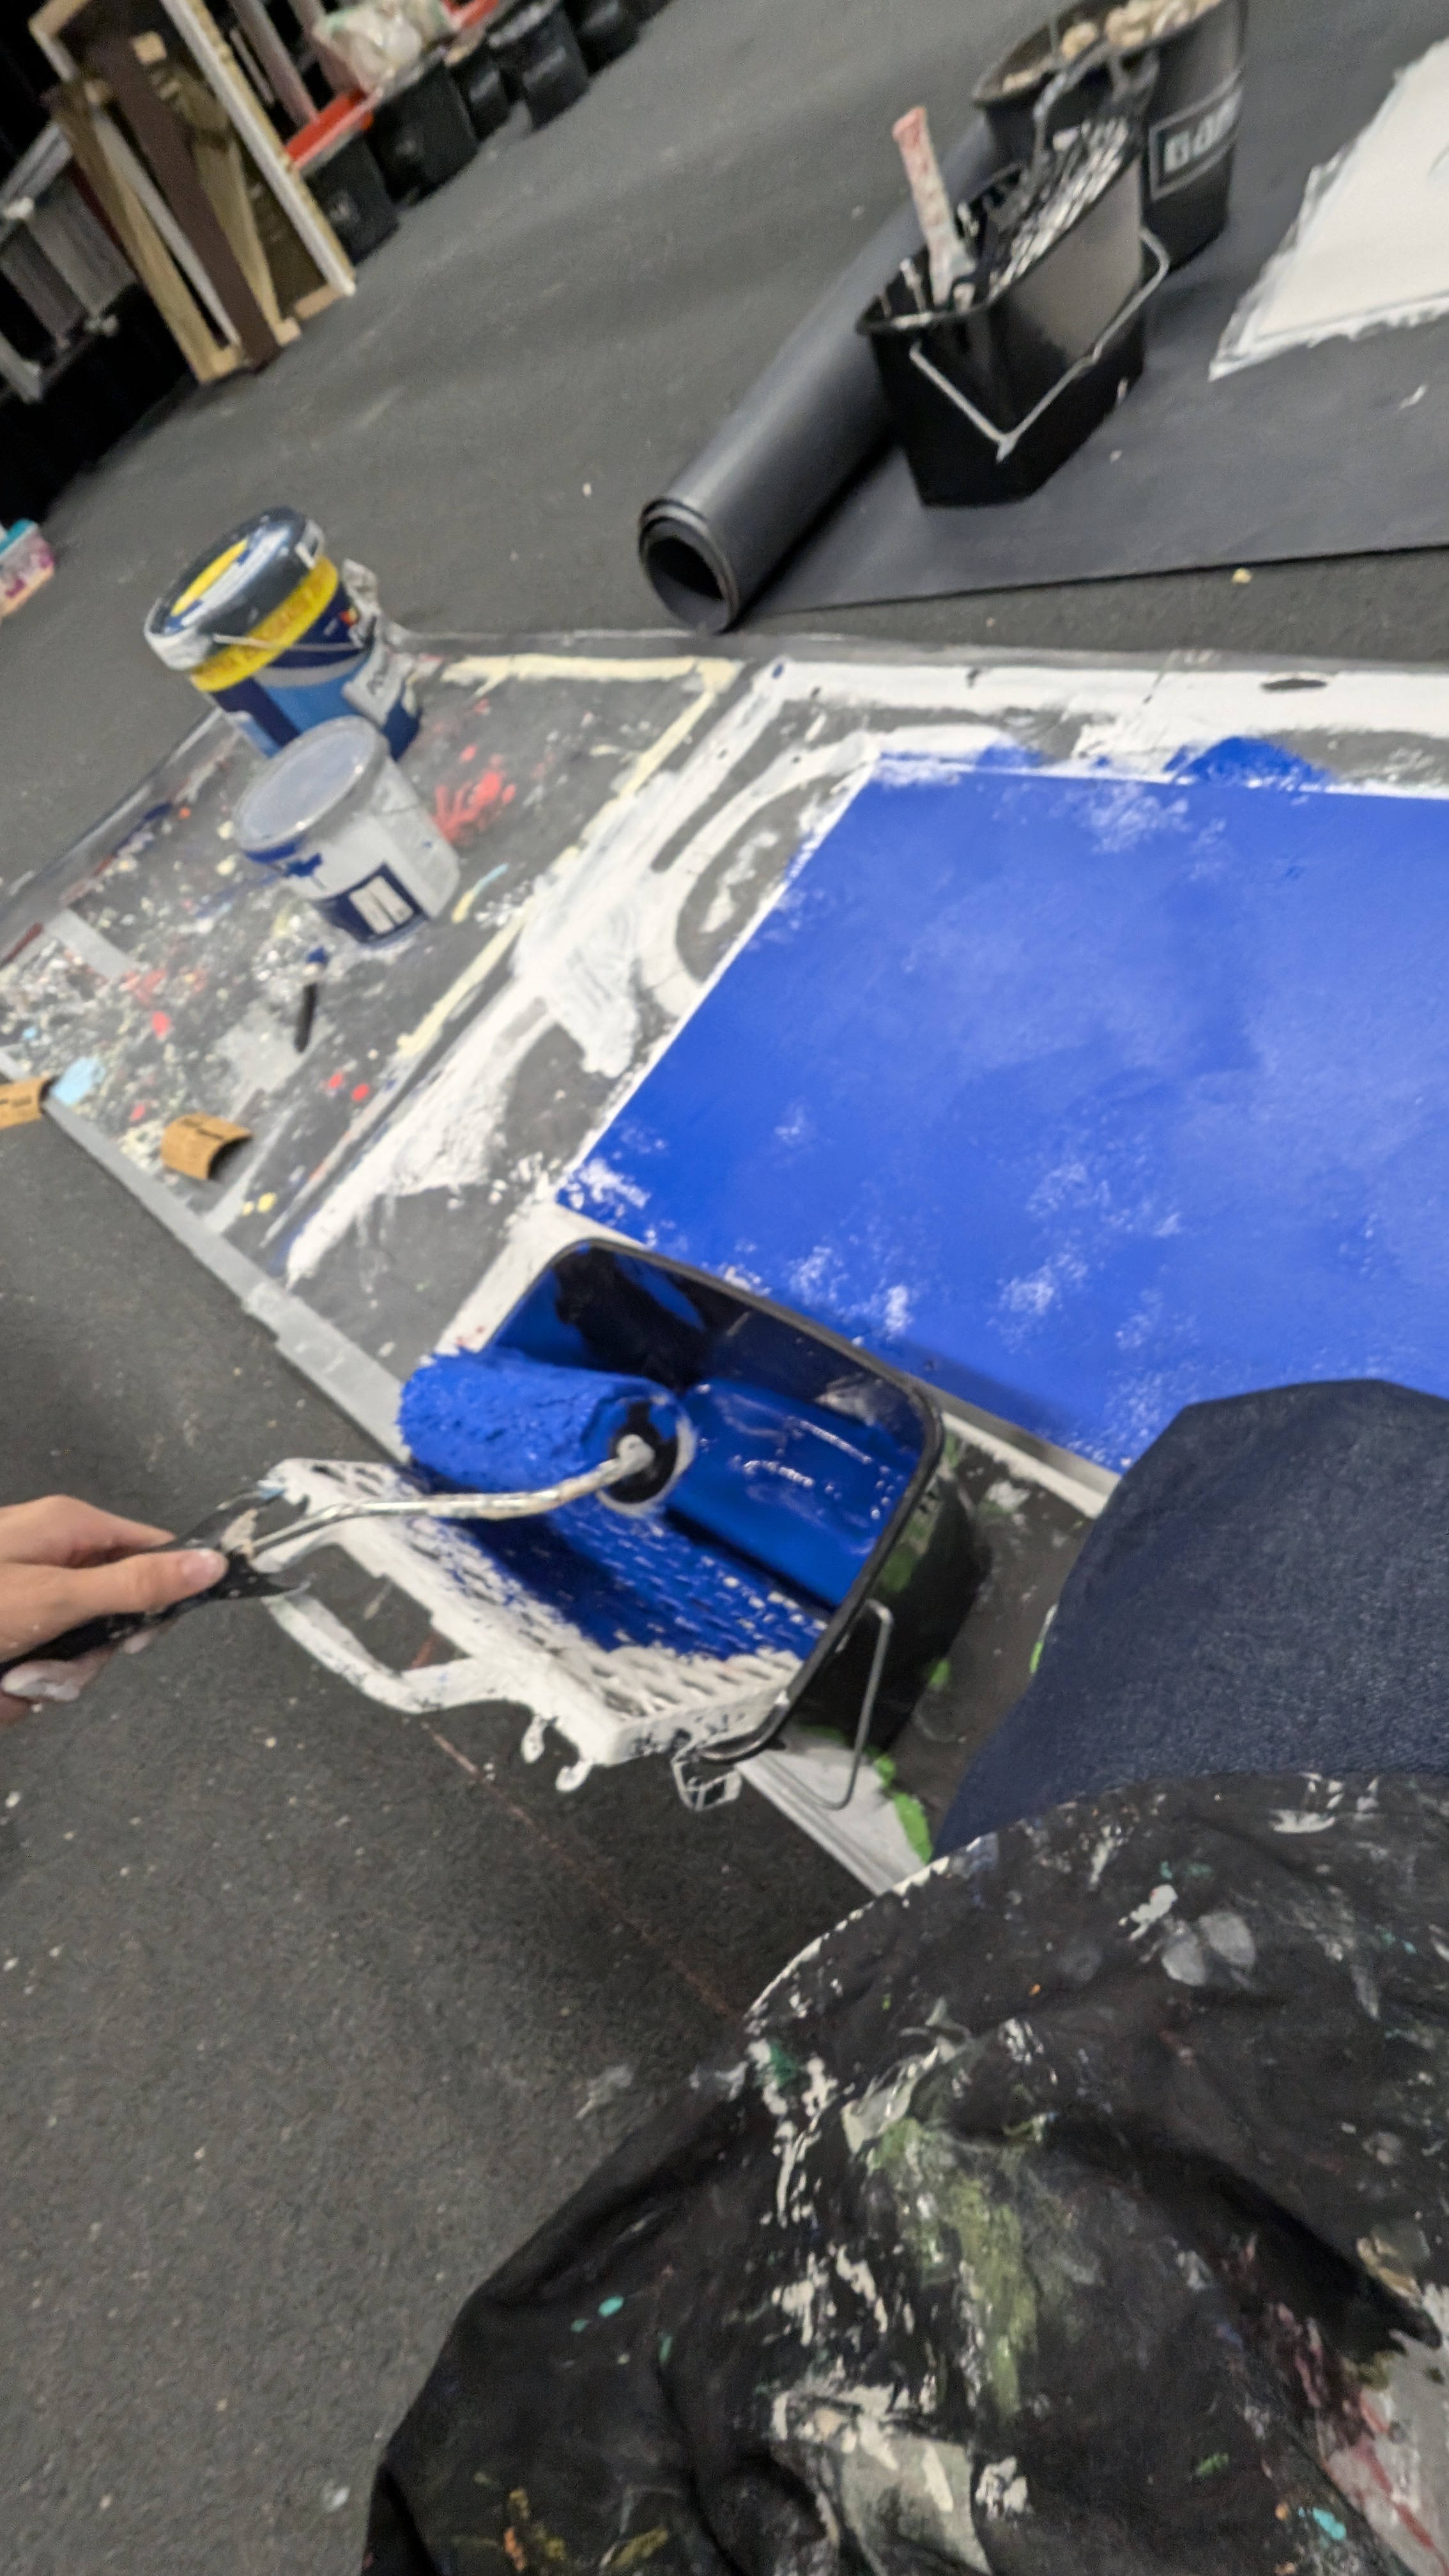
Paint and exterior finish
Two matte blue coats wrap the cabinet while a black top plate frames the disco ball. Drips near the slot were wet-sanded and repainted until clean.
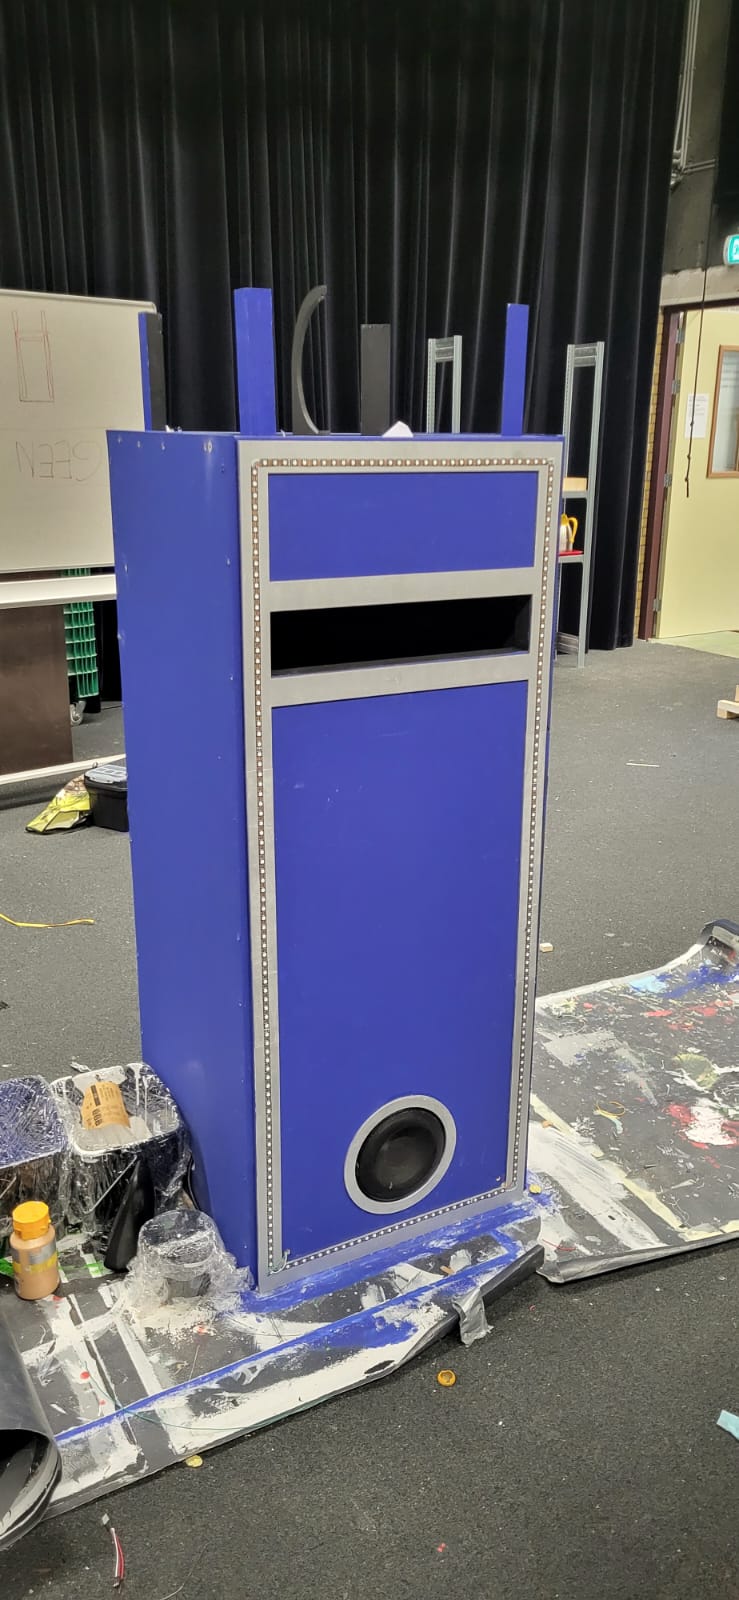
Final assembly, window, and mounts
Speakers, the Arduino stack, relay, and power distribution all landed on their mounts. The disco ball motor got rubber washers plus shims to cancel wobble, and the acrylic window + trash slot plate were locked in.
LED choreography + full-system tests
Nasi’s ESP32 listens for START_SHOW / END_SHOW messages and runs indoor-friendly brightness profiles, sparkle outros, and idle glows. Together we capped the show at six seconds, tuned cooldown windows, and synced LEDs with audio and smoke cues.
Videos from the final runs:
Related
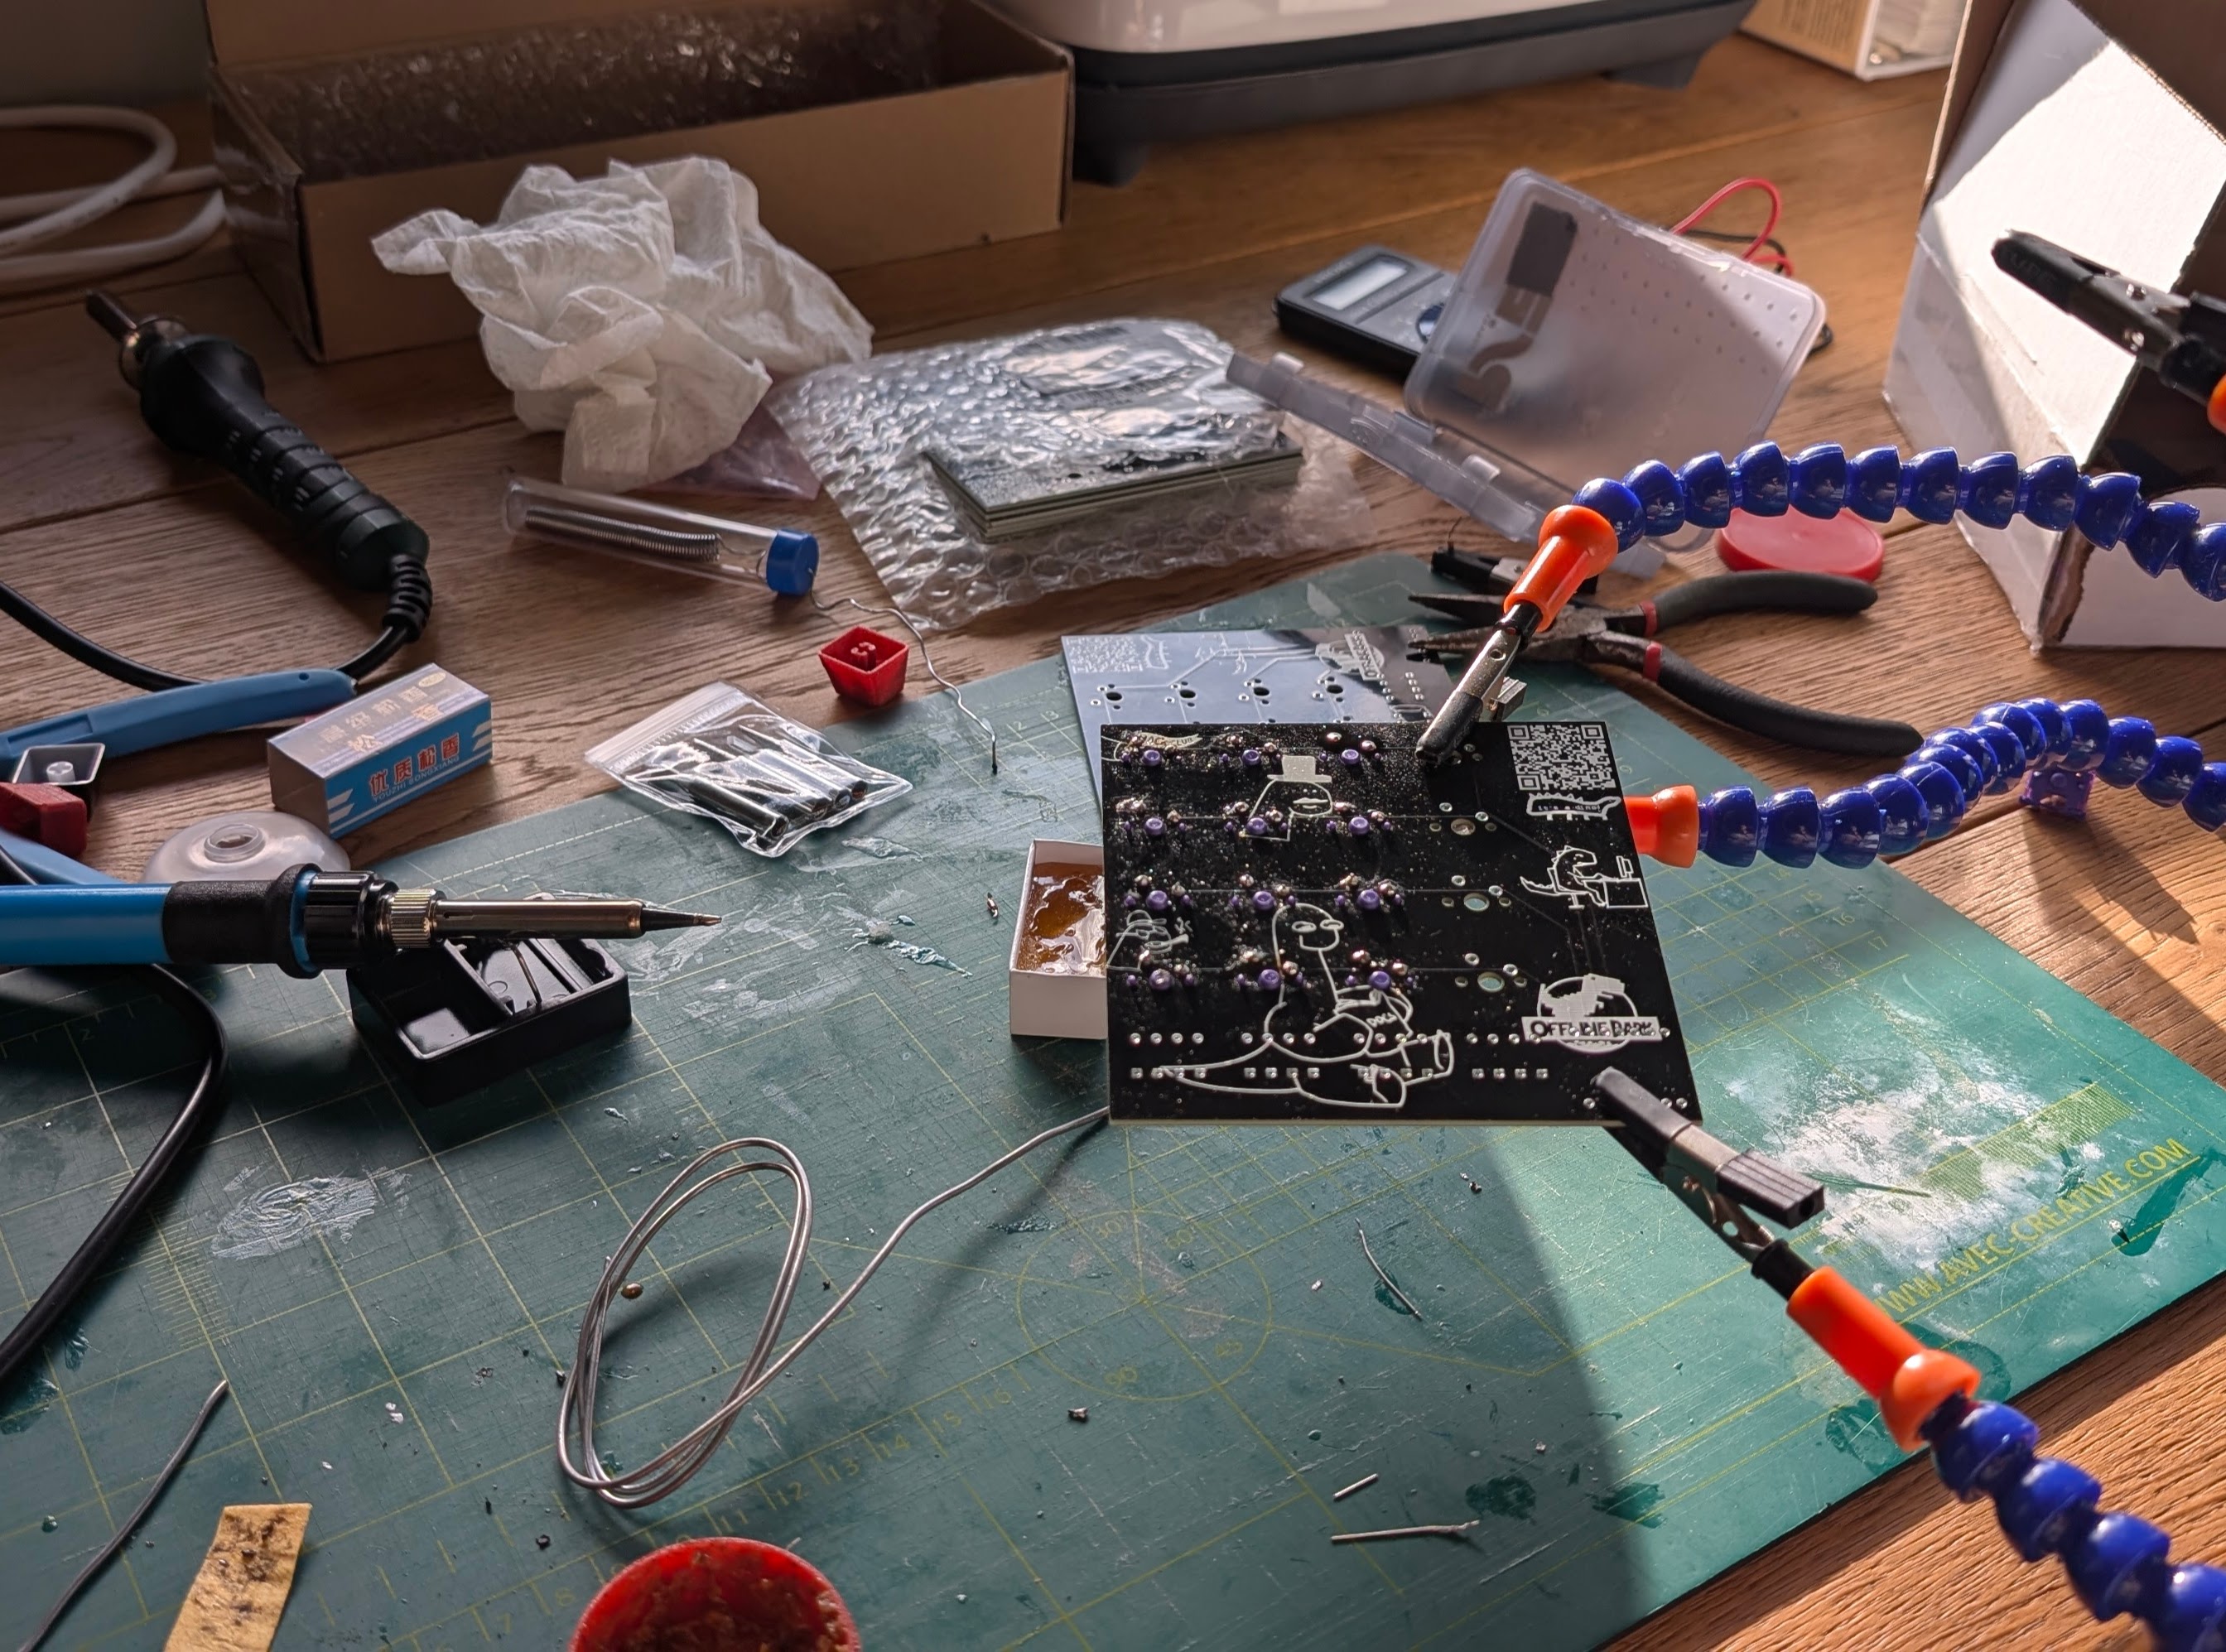
Custom macropad built during a Hack Club PCB sprint
Designed a 16-key macropad PCB, modeled a snap-fit case, and soldered everything with my grandpa in a weekend.
Open project